
Subscribe forms
A subscribe form lets people sign up for your mailing list, from your website or through a link you share.
A subscribe form lets people sign up for your mailing list, from your website or through a link you share.
You design the form, the pages people see after signing up and the emails they get. Every new subscriber first confirms their email address (double opt-in), so only real, working addresses end up on your list.
Create a subscribe form
-
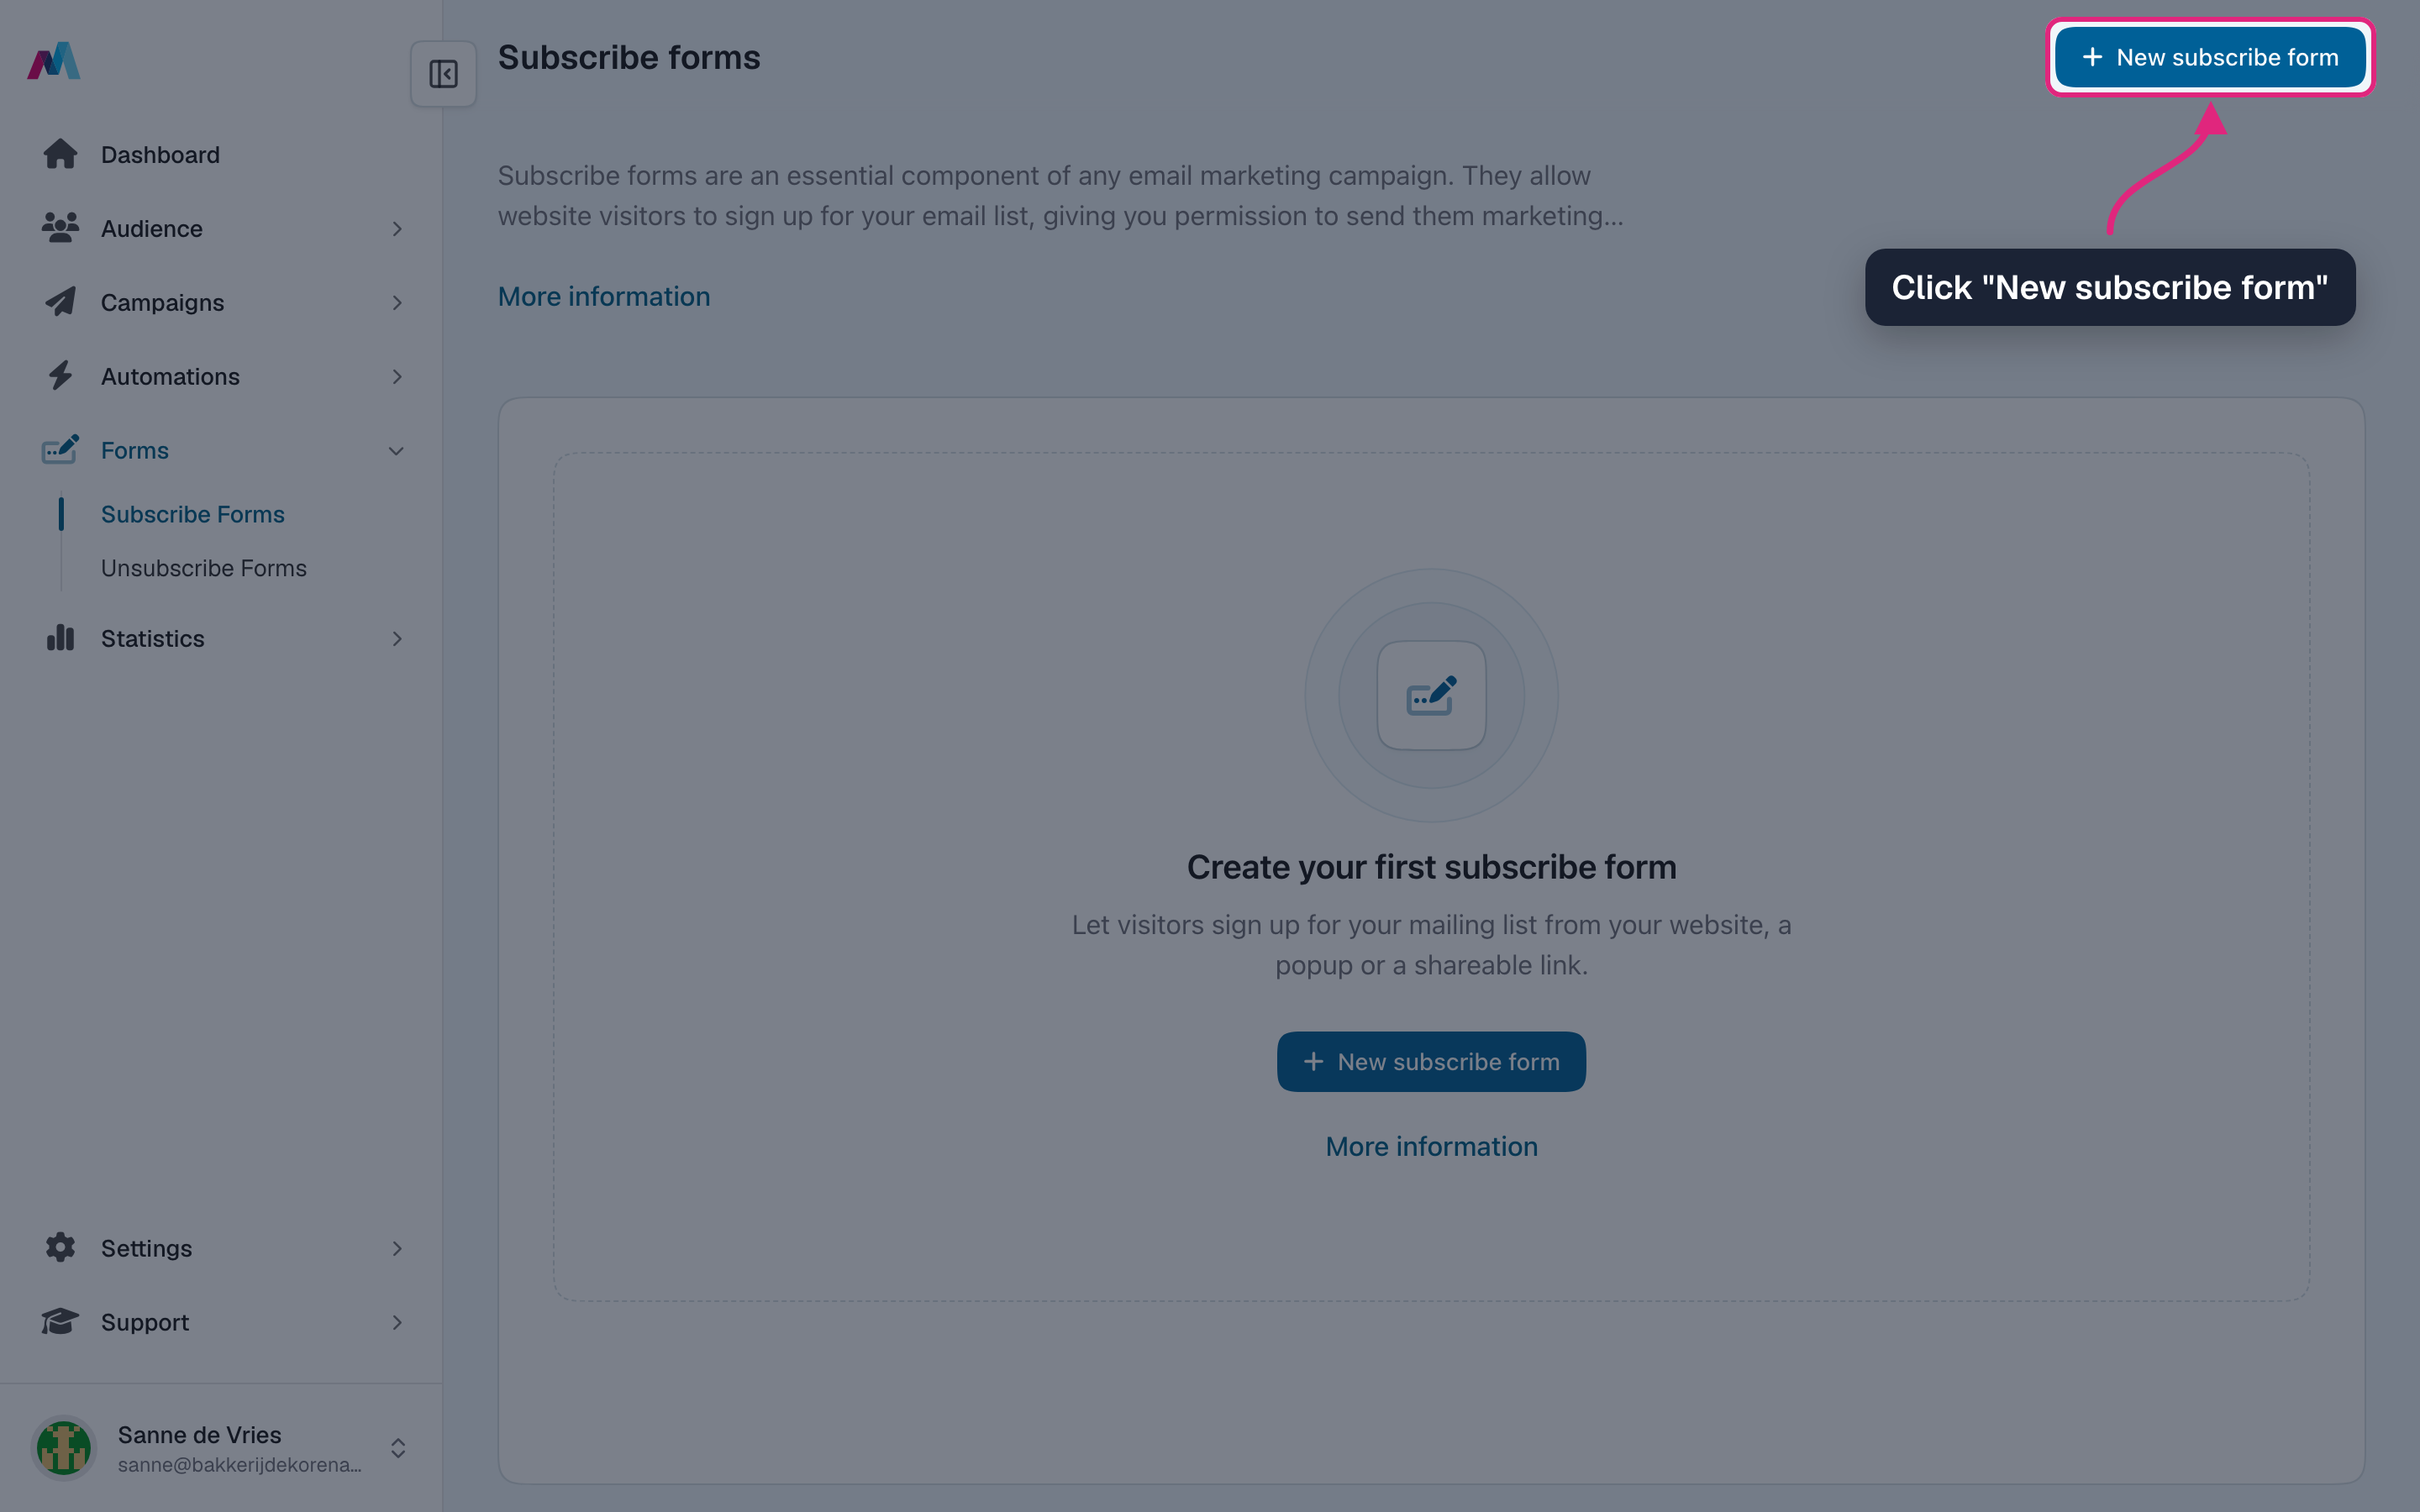
Go to Forms > Subscribe forms and click "New subscribe form".
-
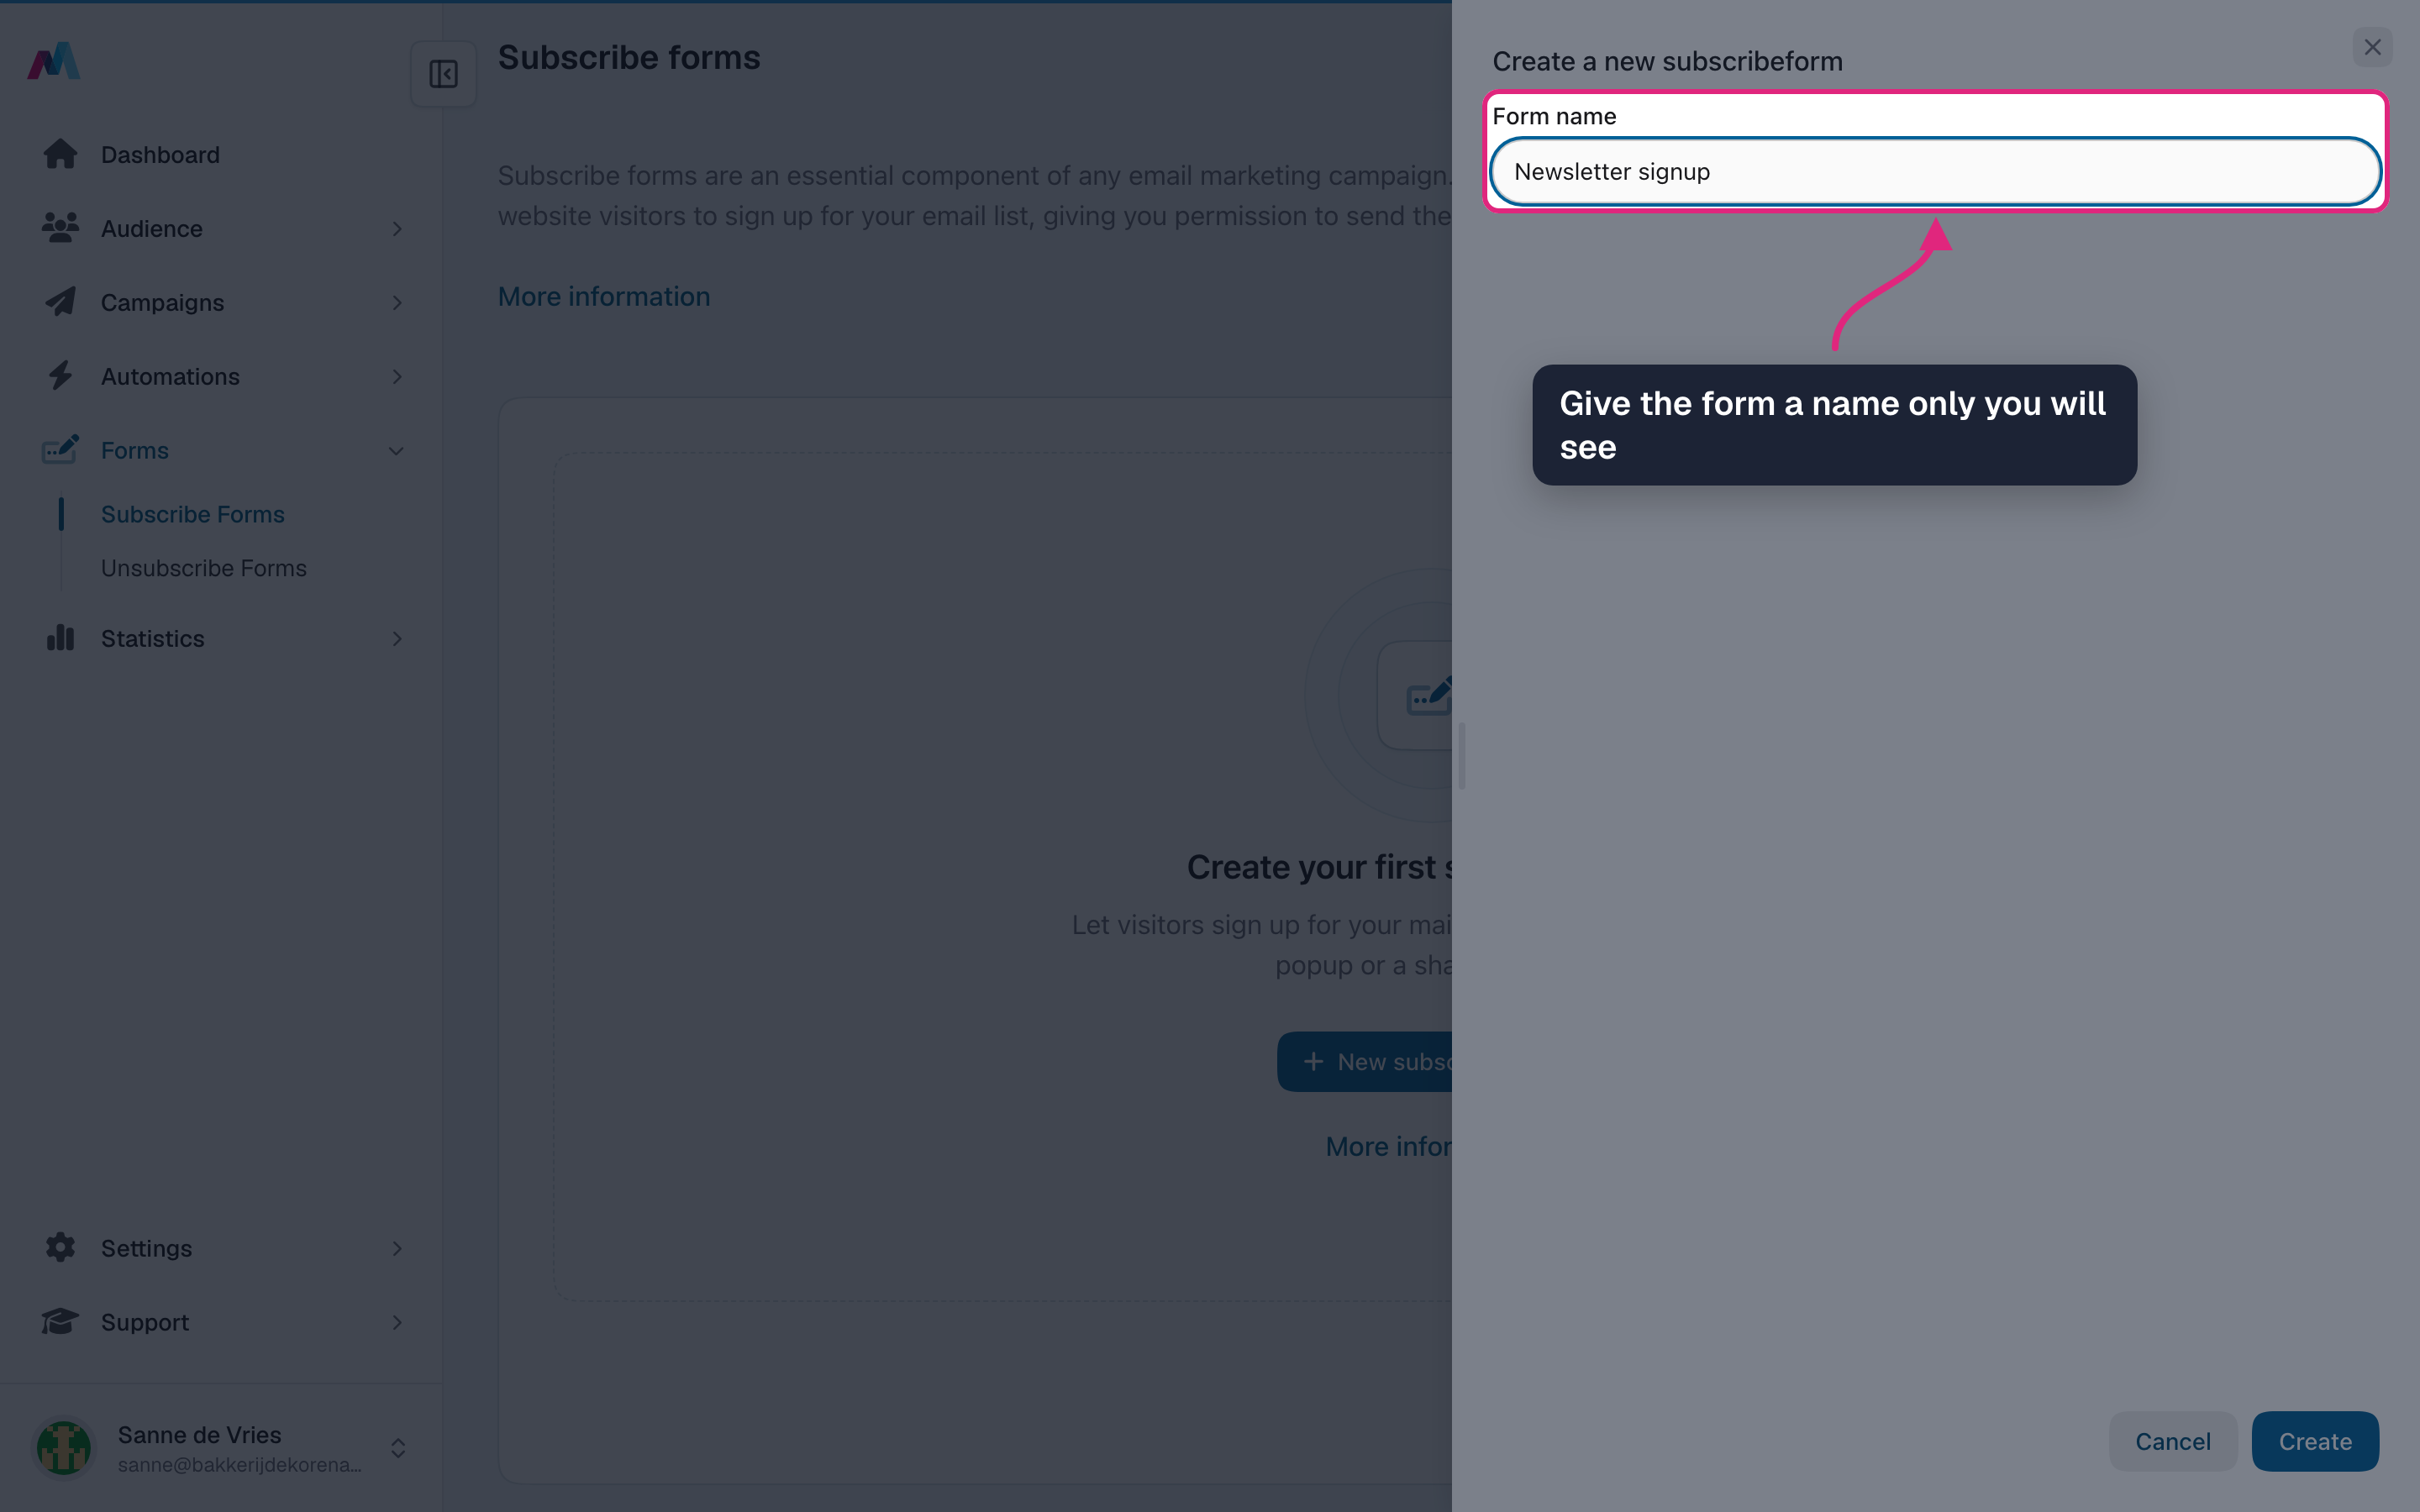
Give the form a name. Only you see it, so pick one you will recognise later.
-
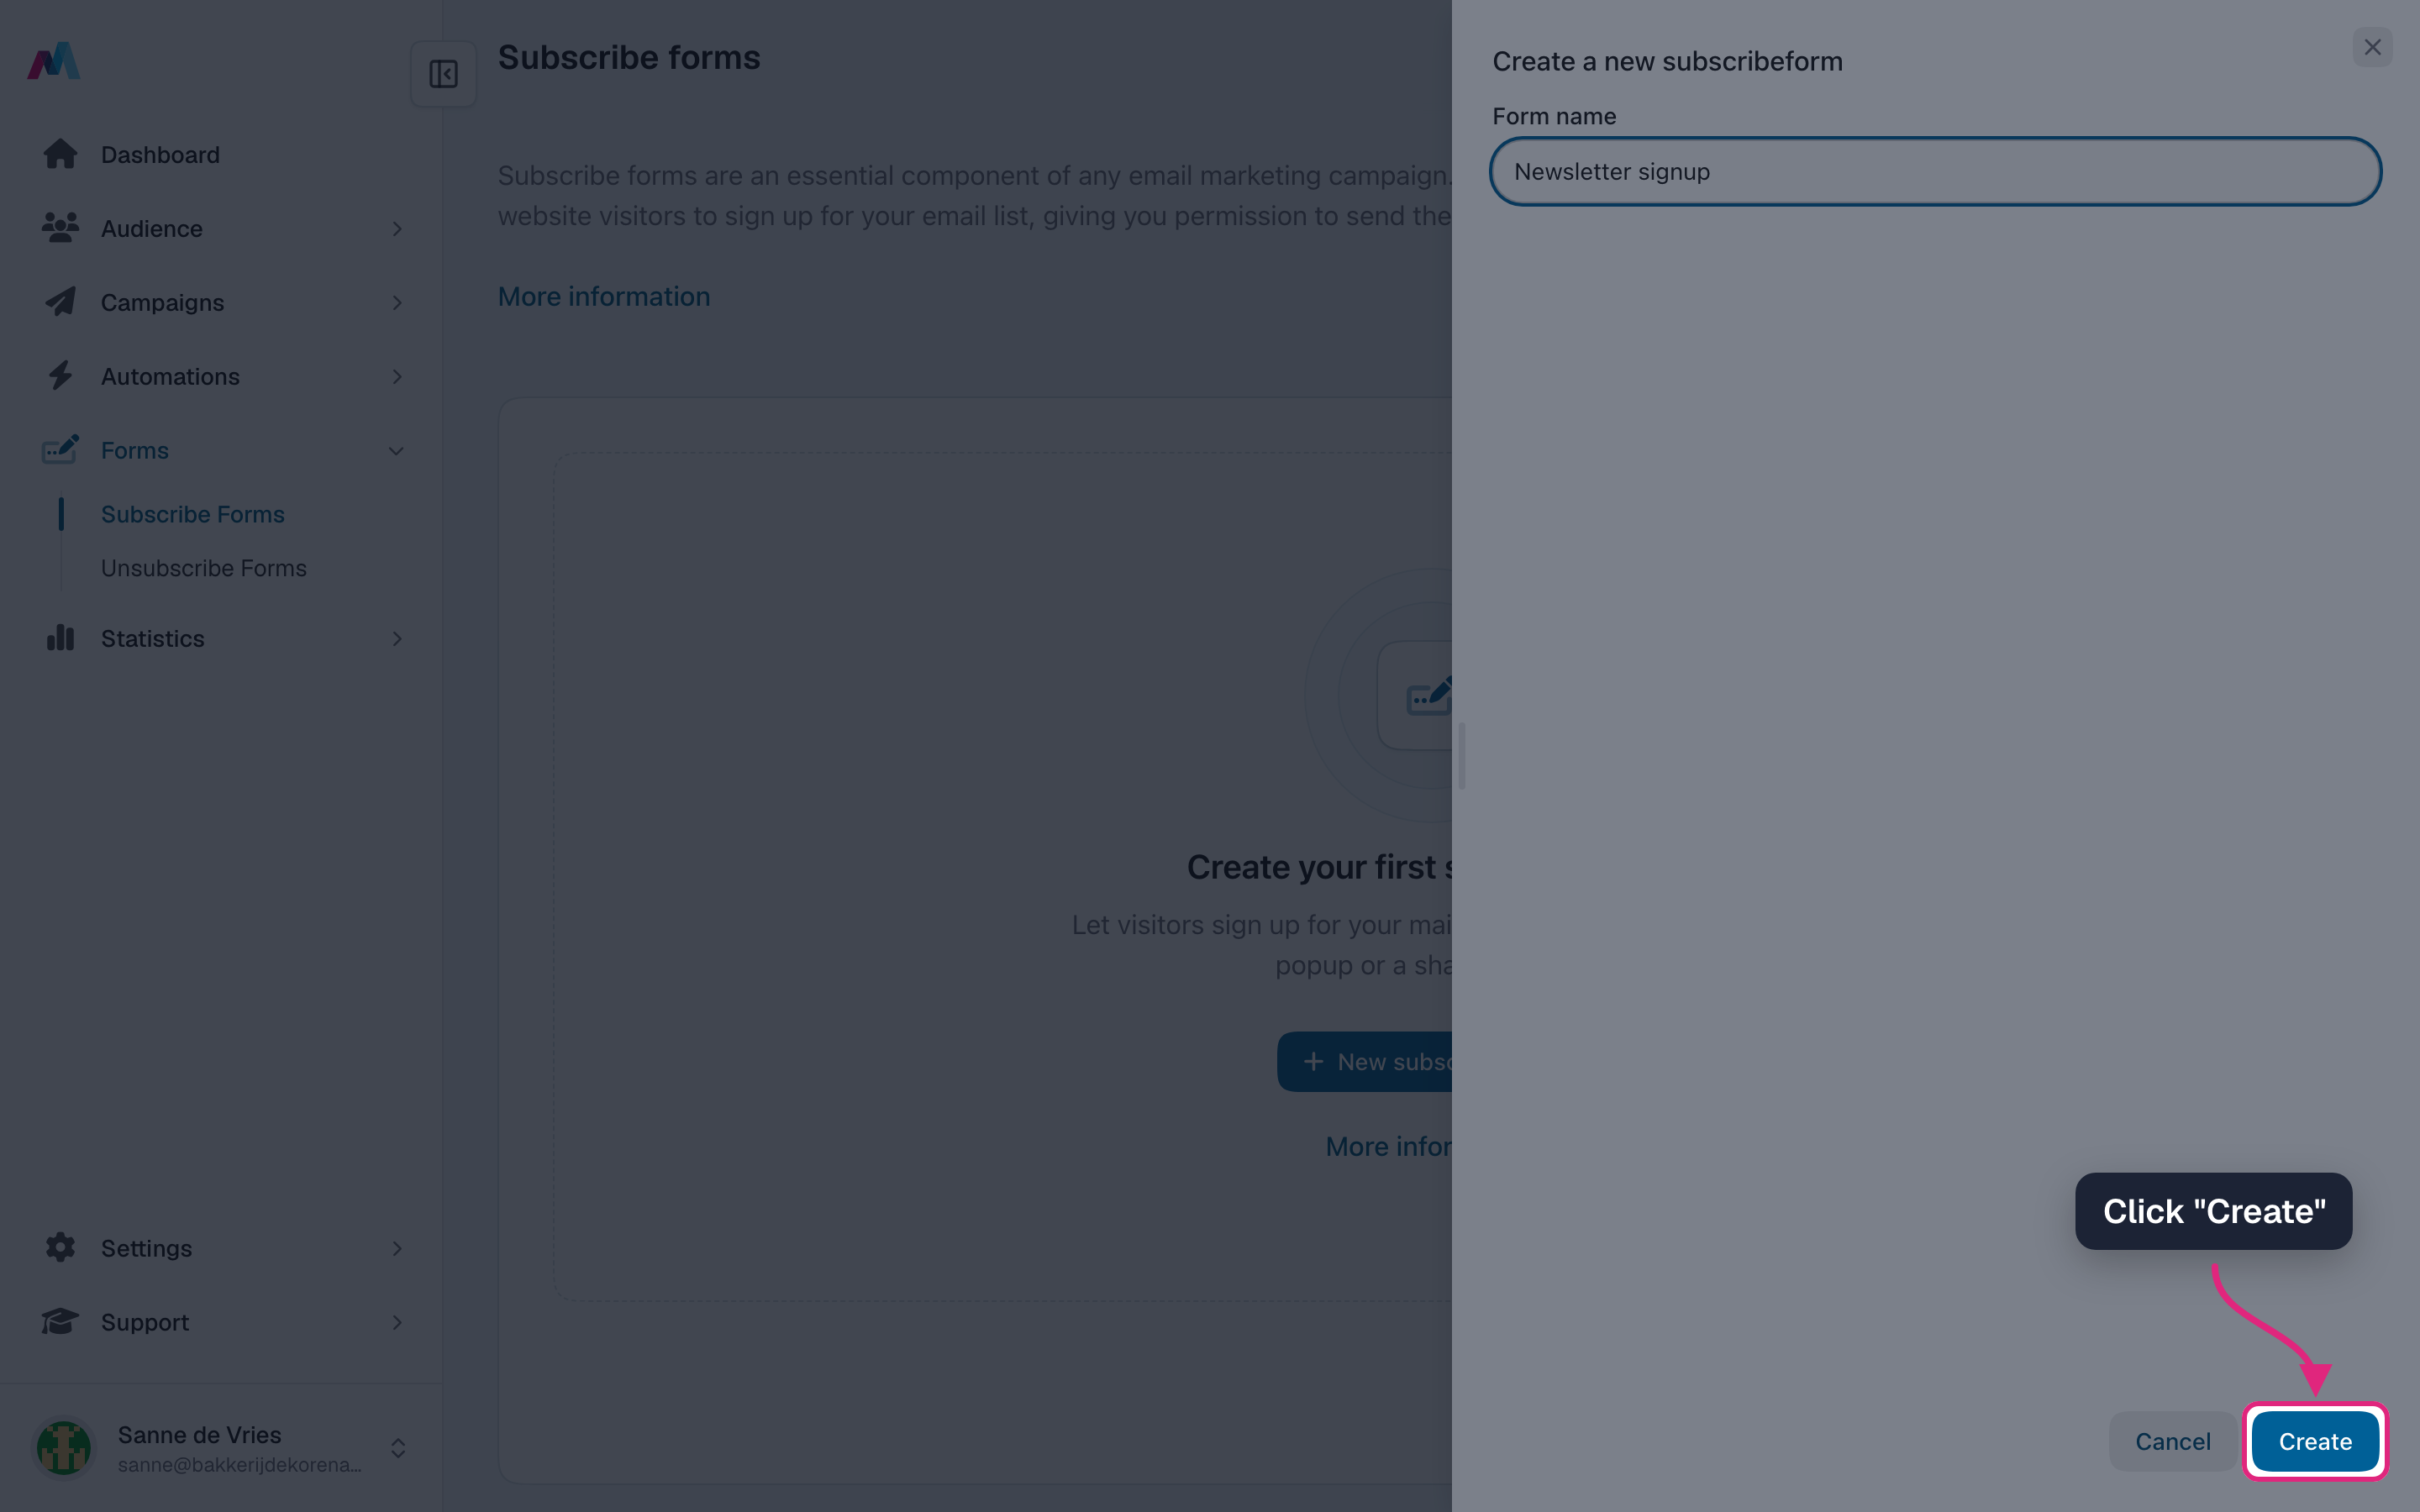
Click "Create". The form wizard opens.
-
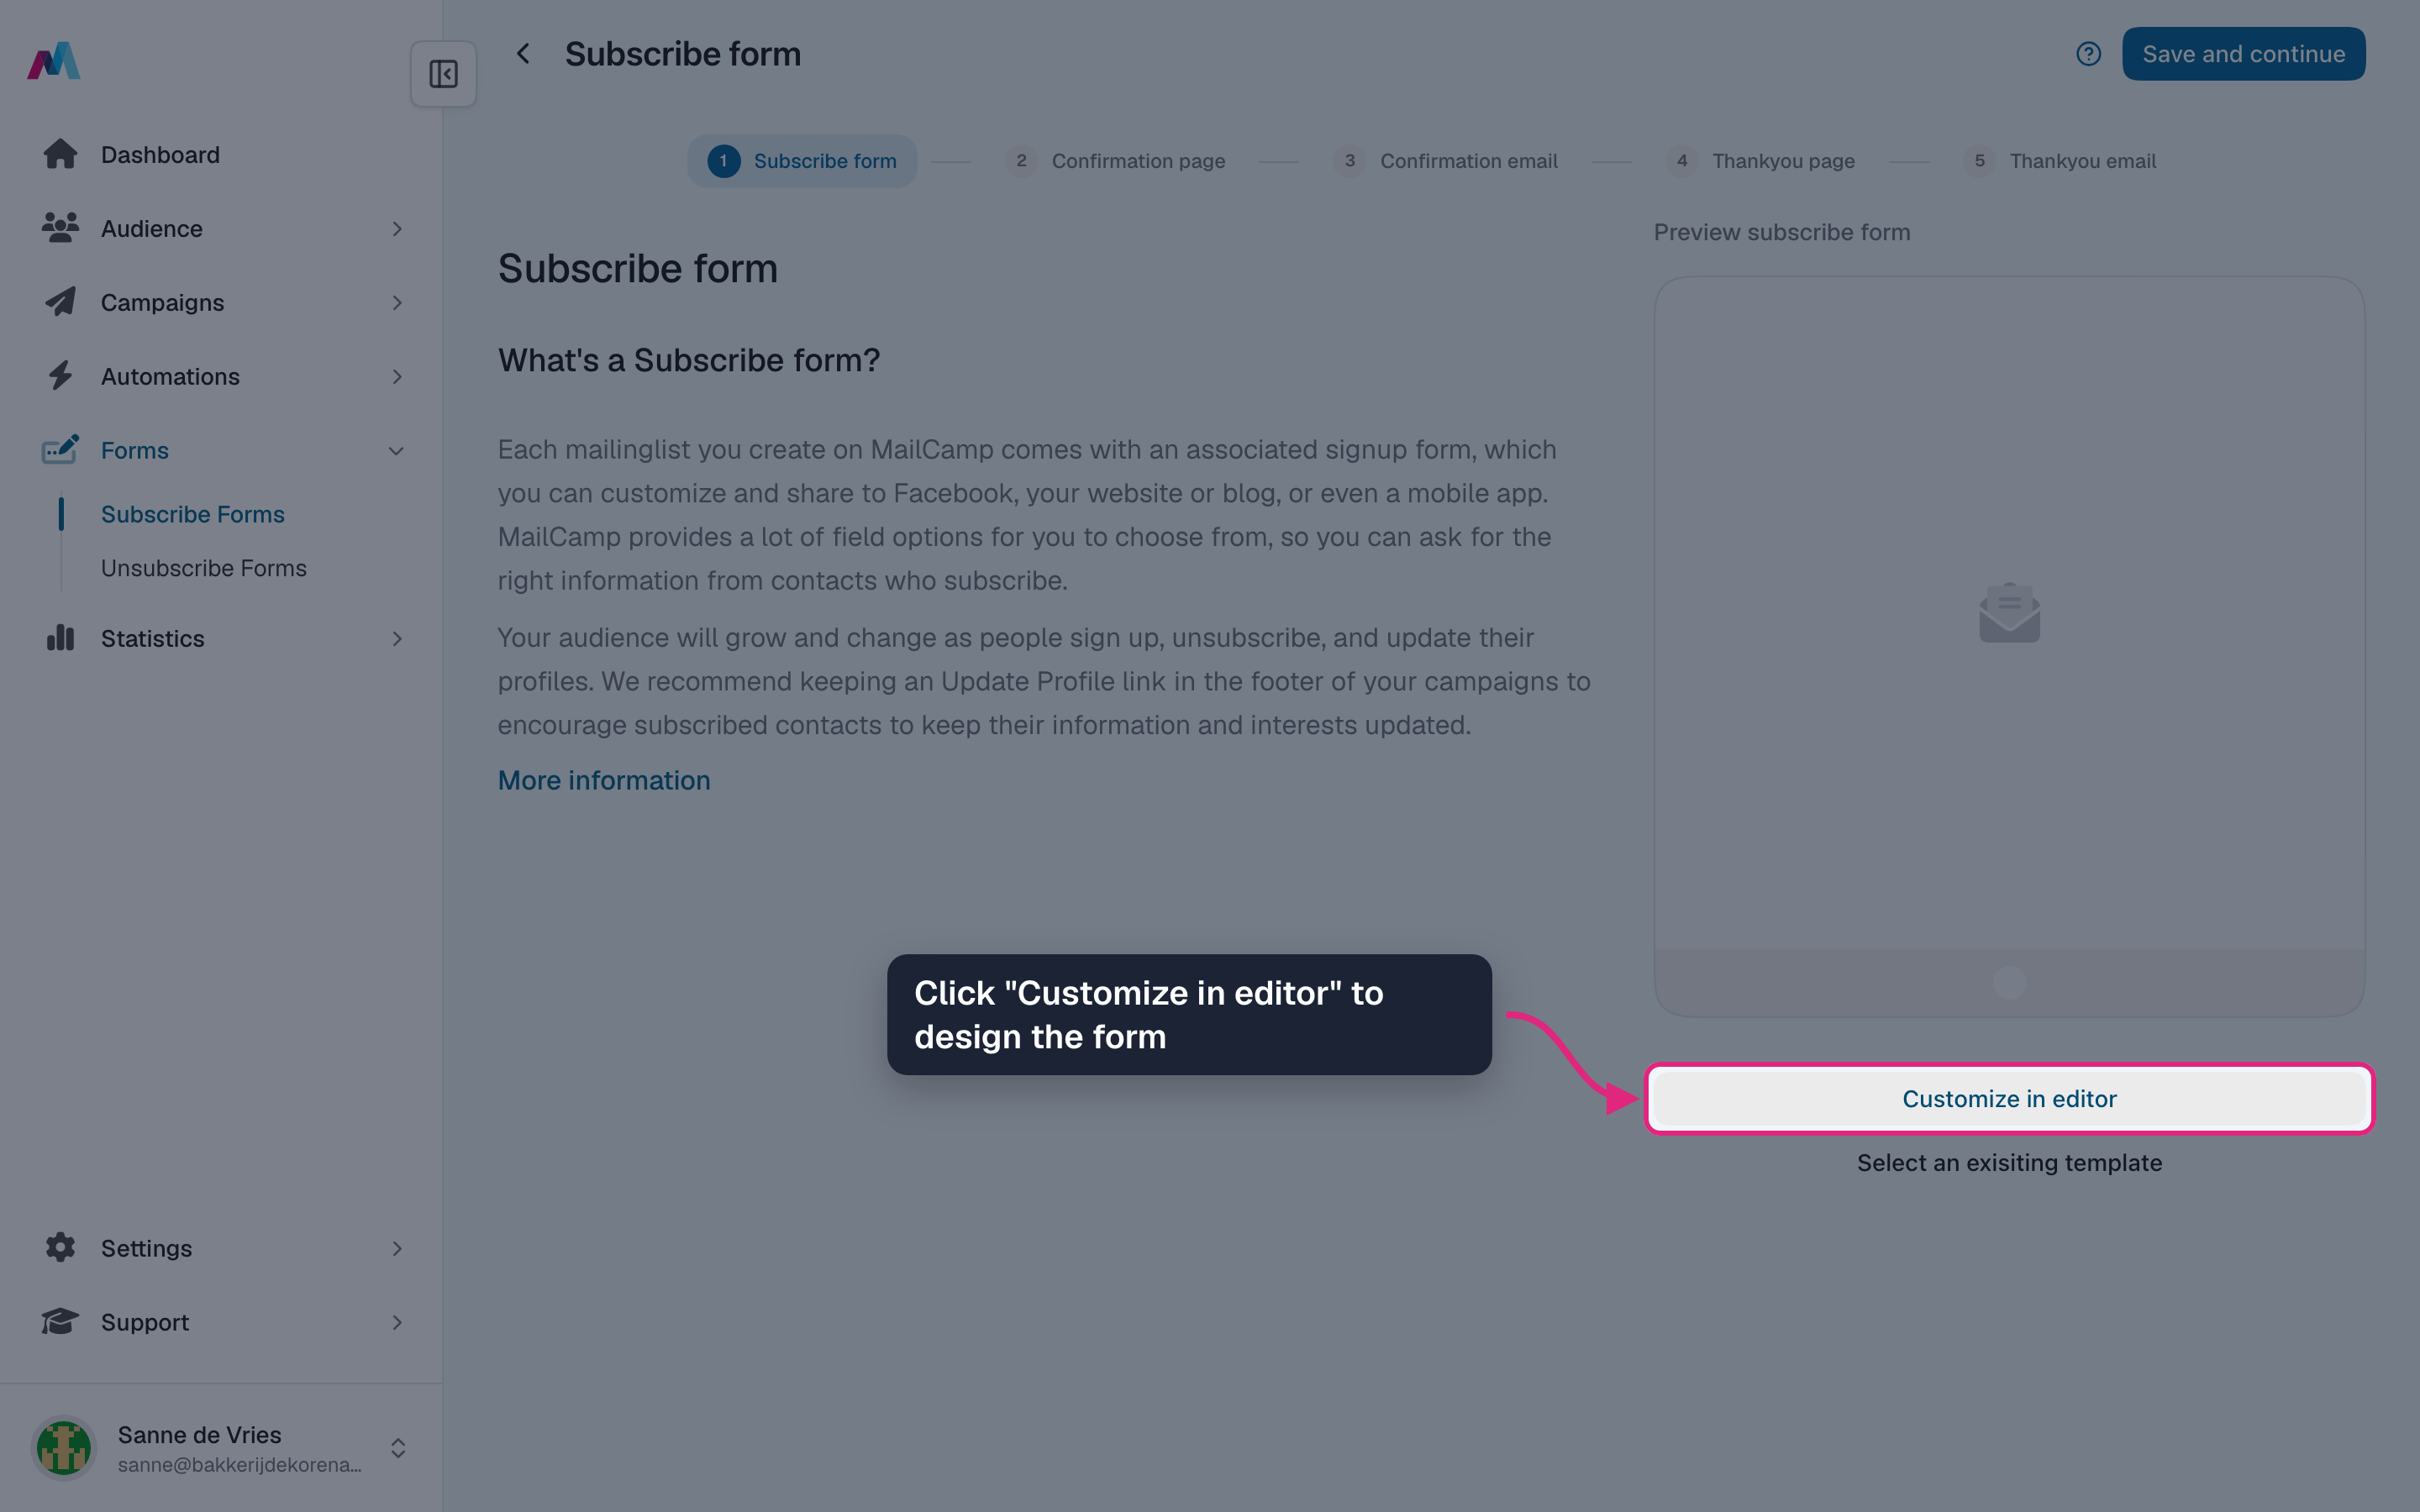
Step 1 is the form itself. Click "Customize in editor" to design it.
-
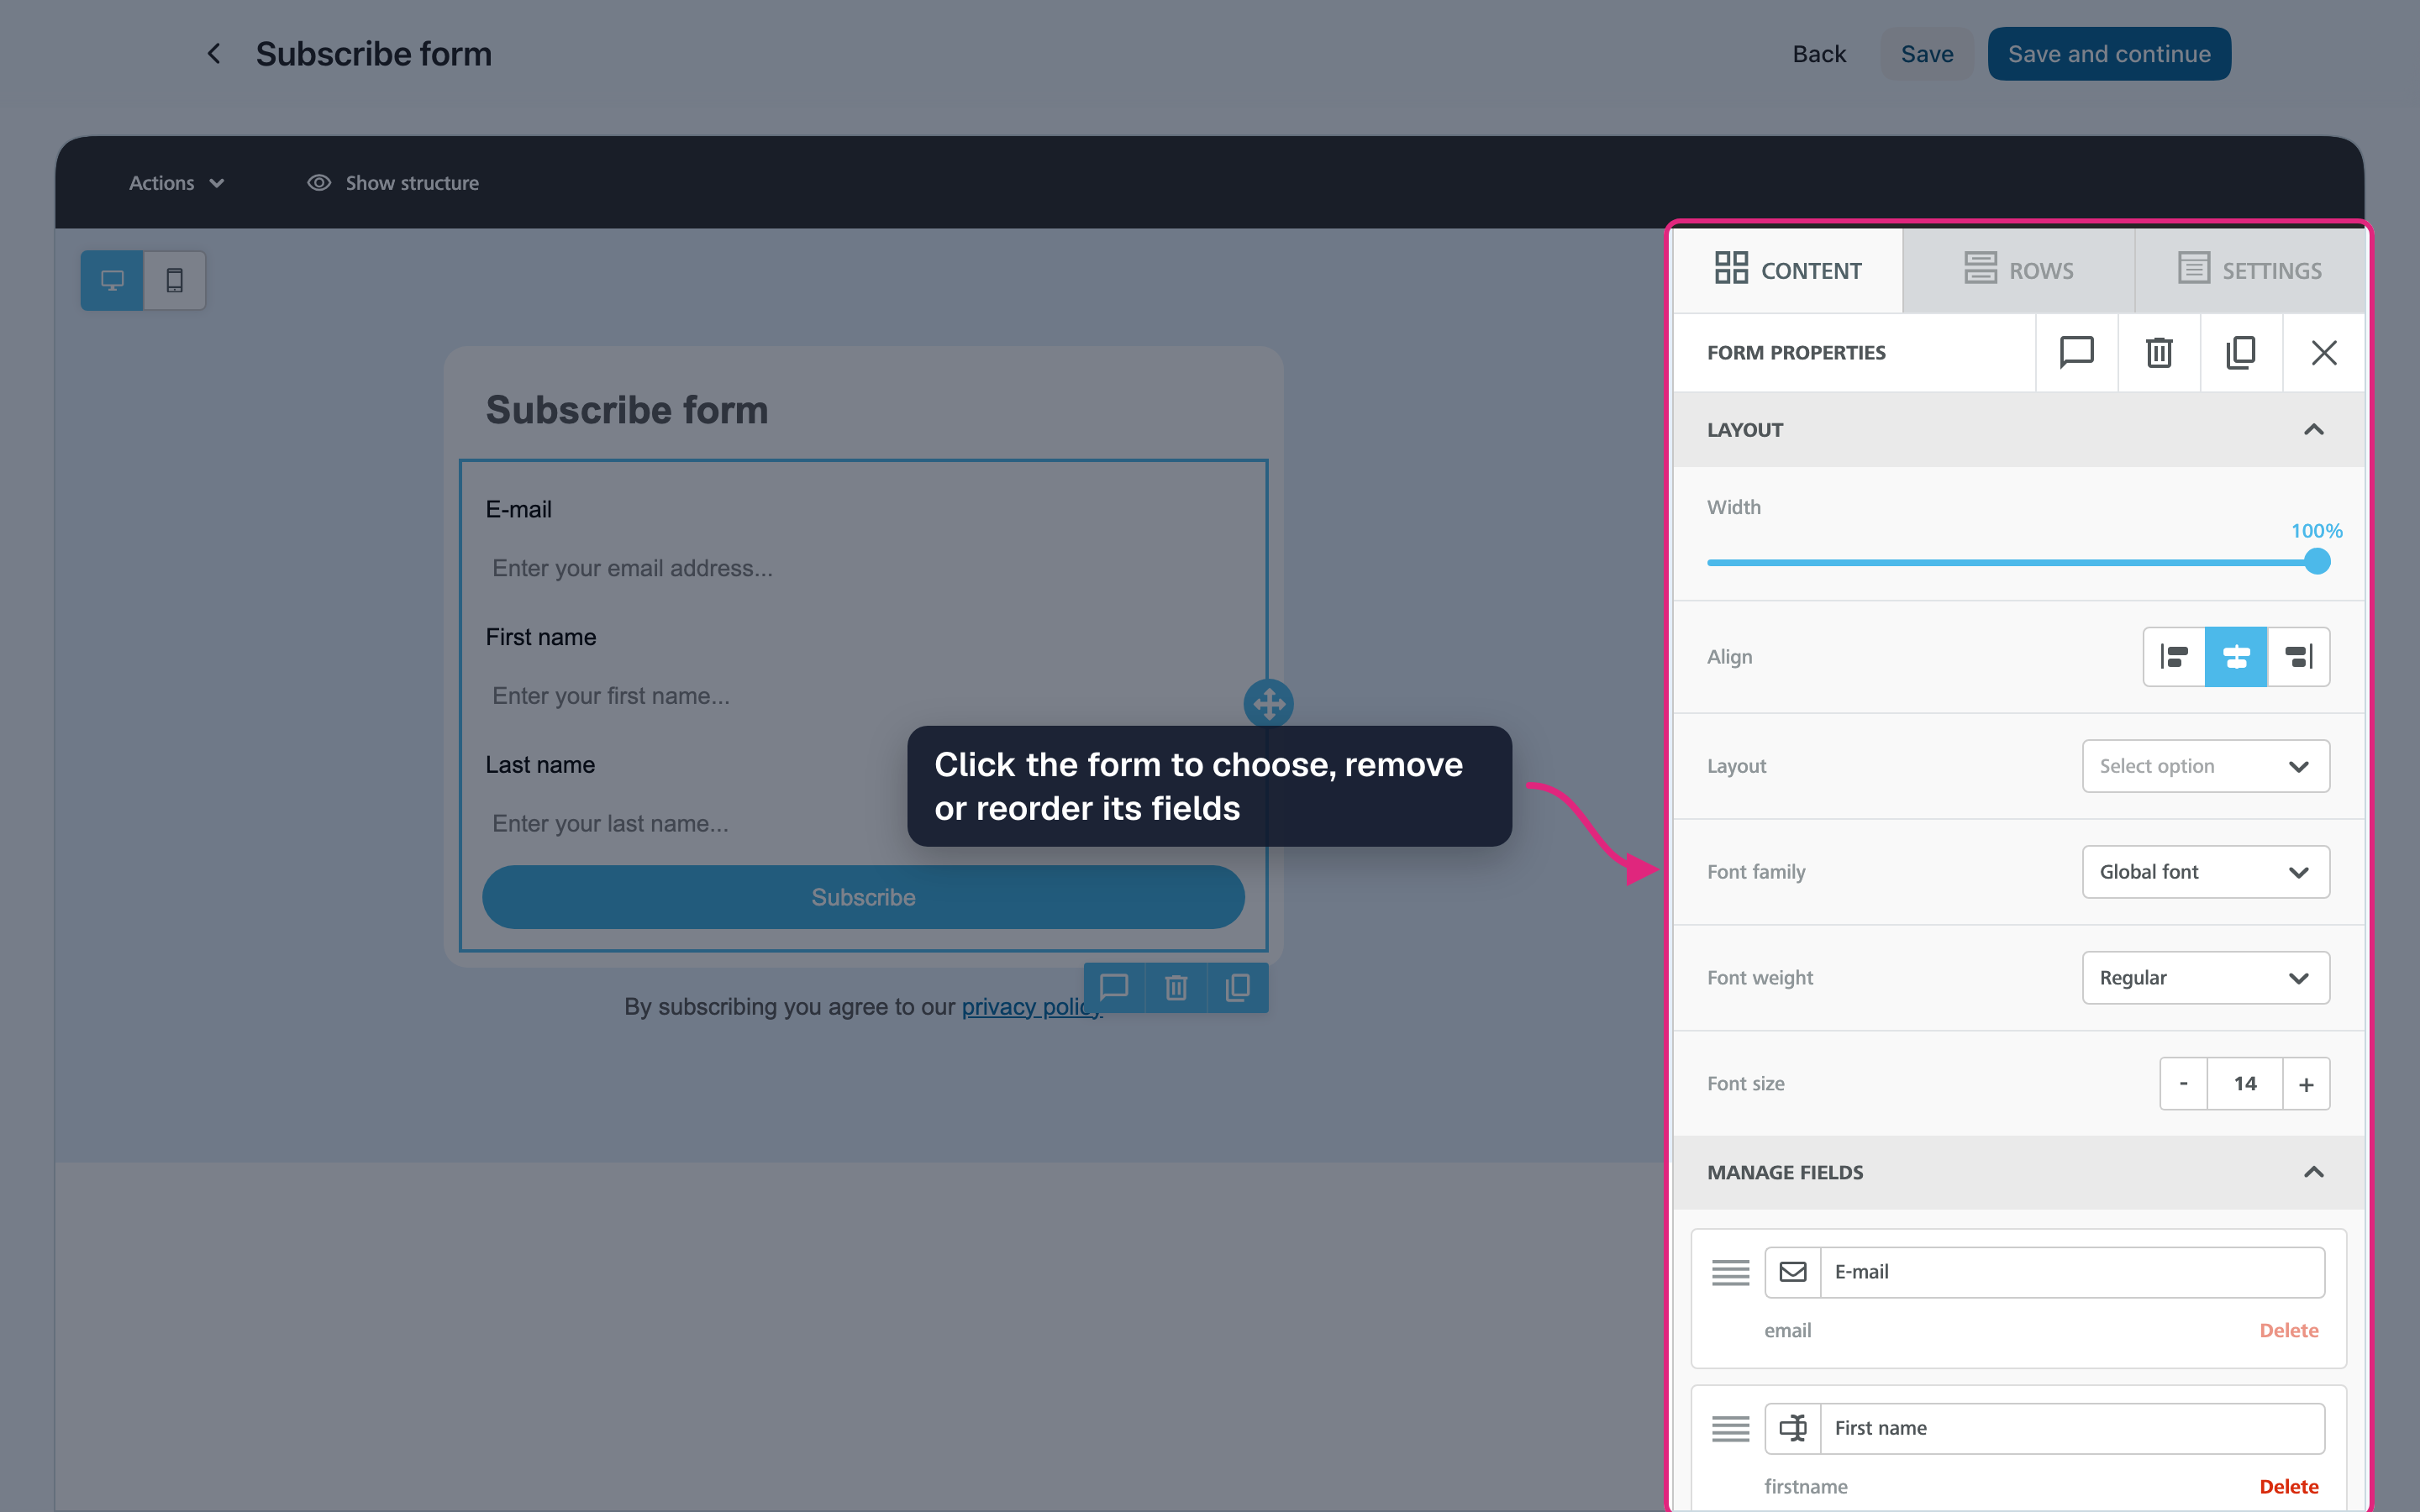
Click the form in the editor. Under "Manage fields" you choose which fields it asks for, remove fields or drag them into a different order.
-
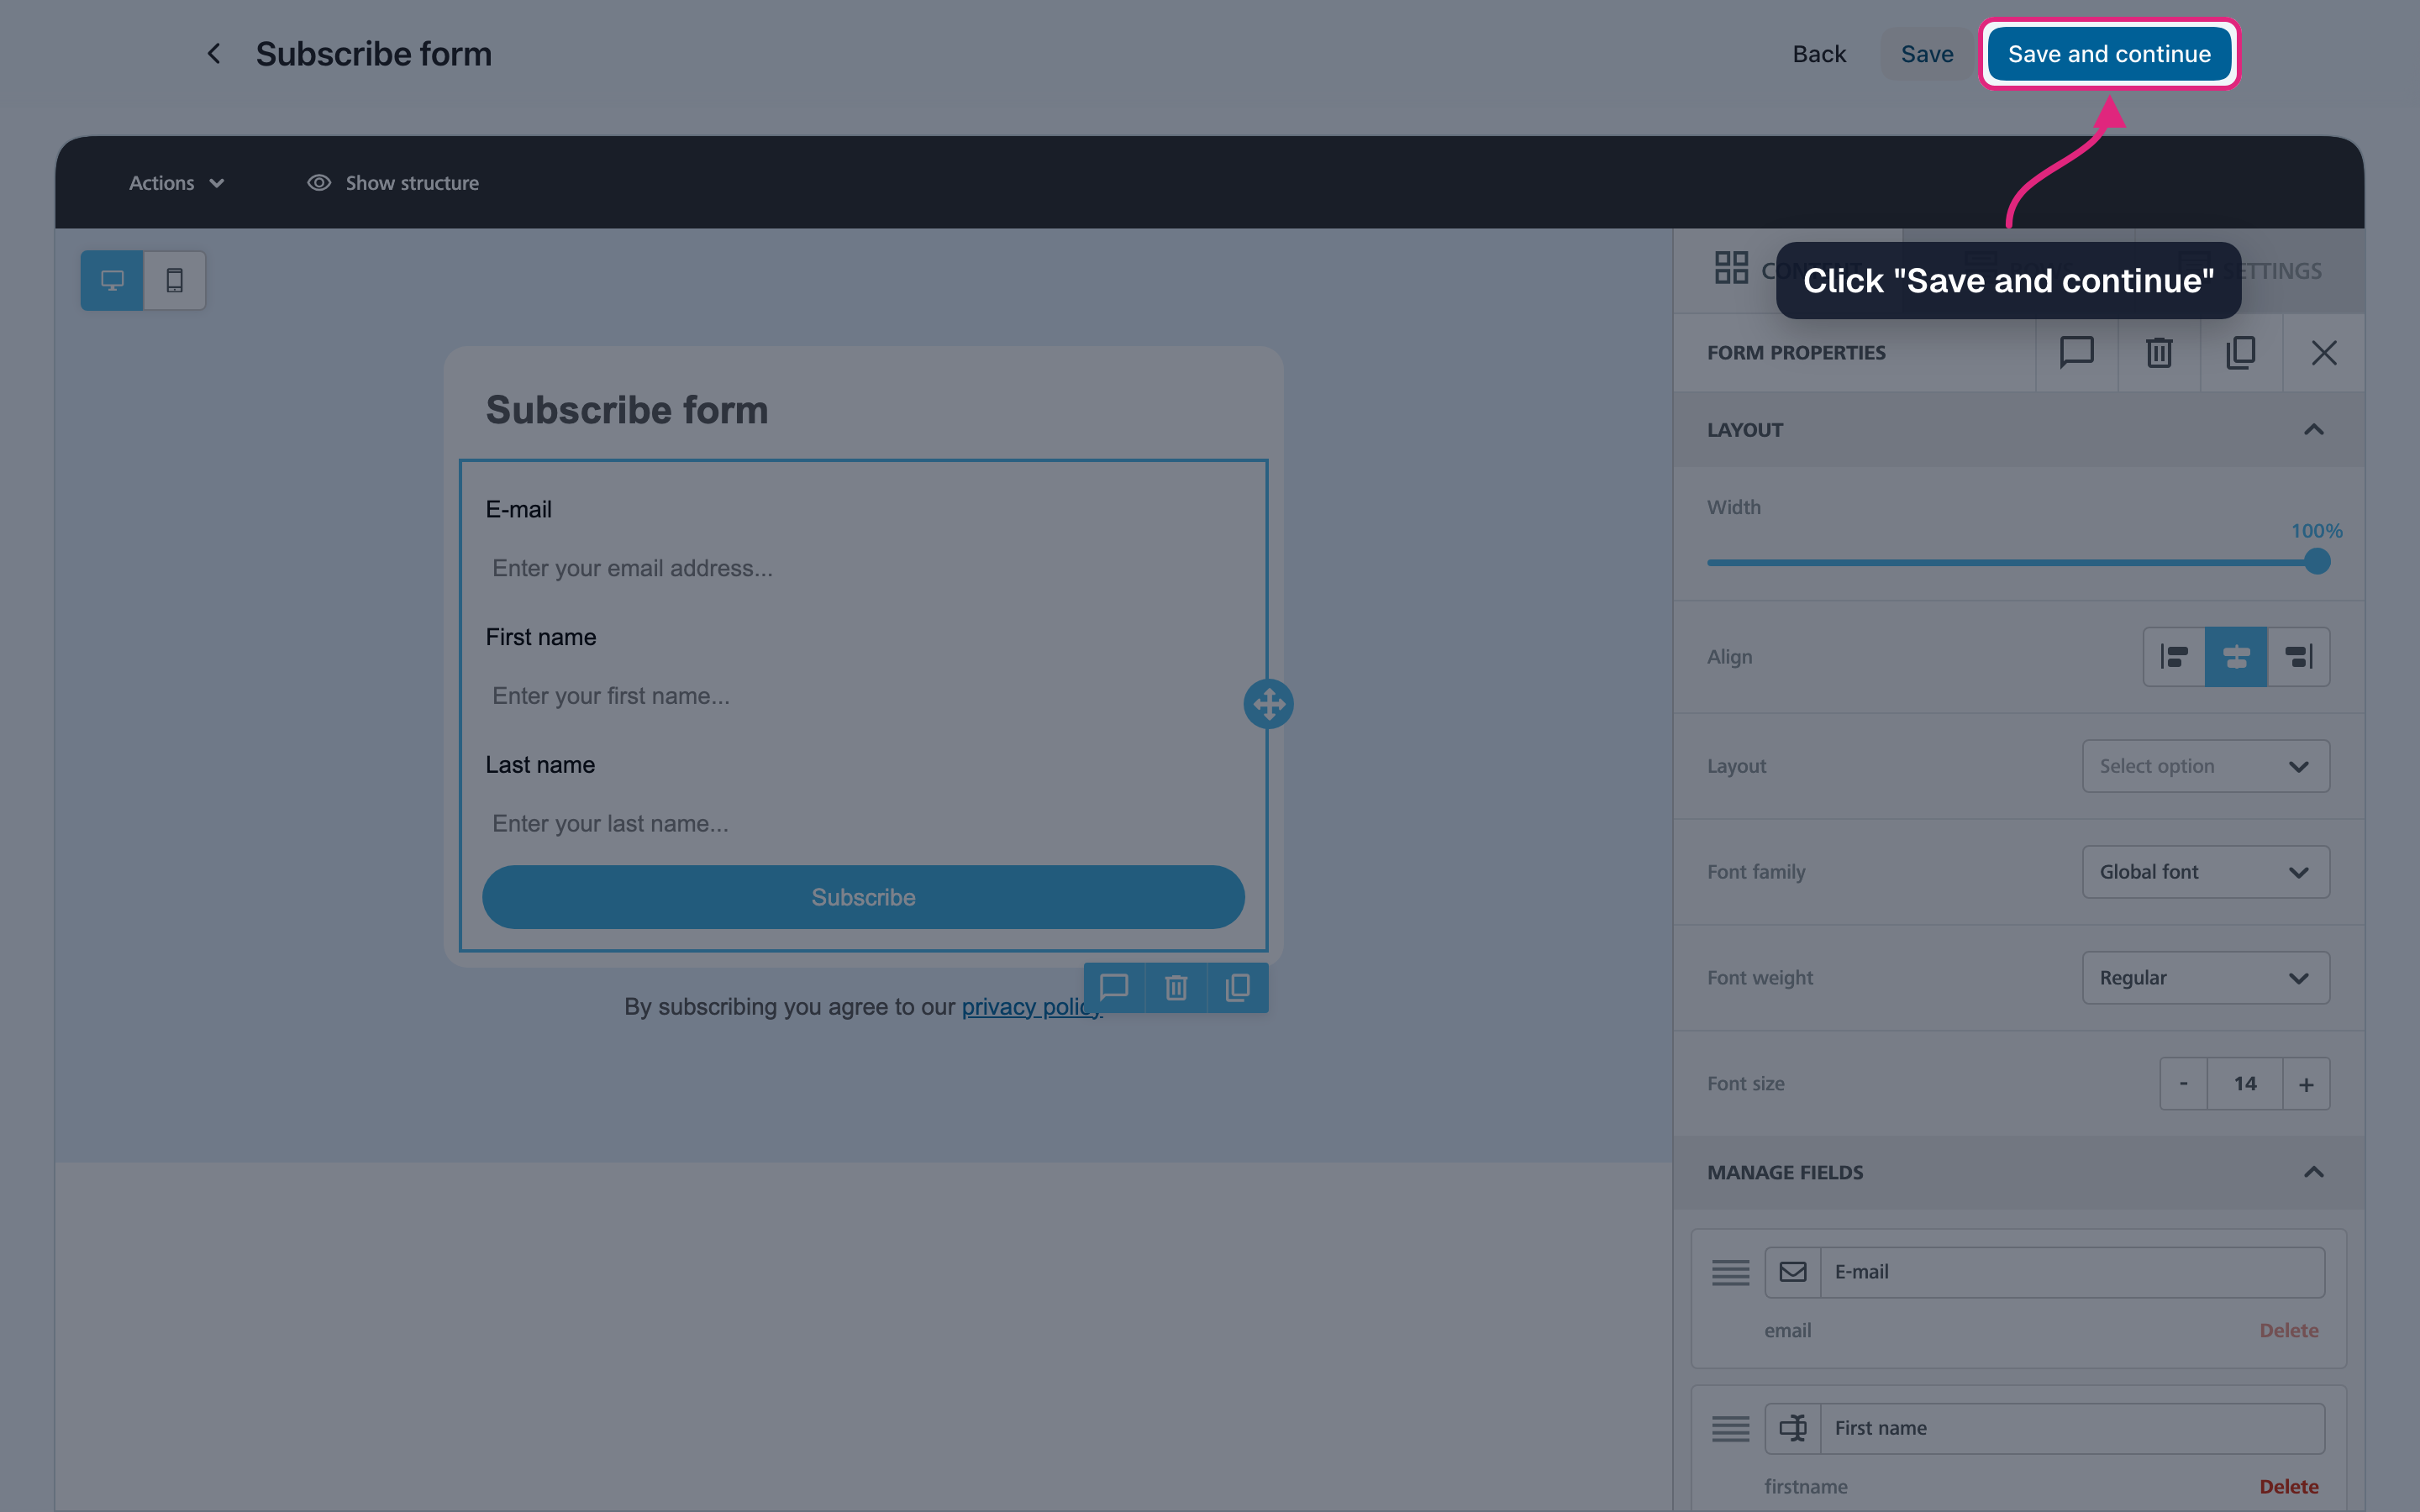
Click "Save and continue" when the form looks right.
-
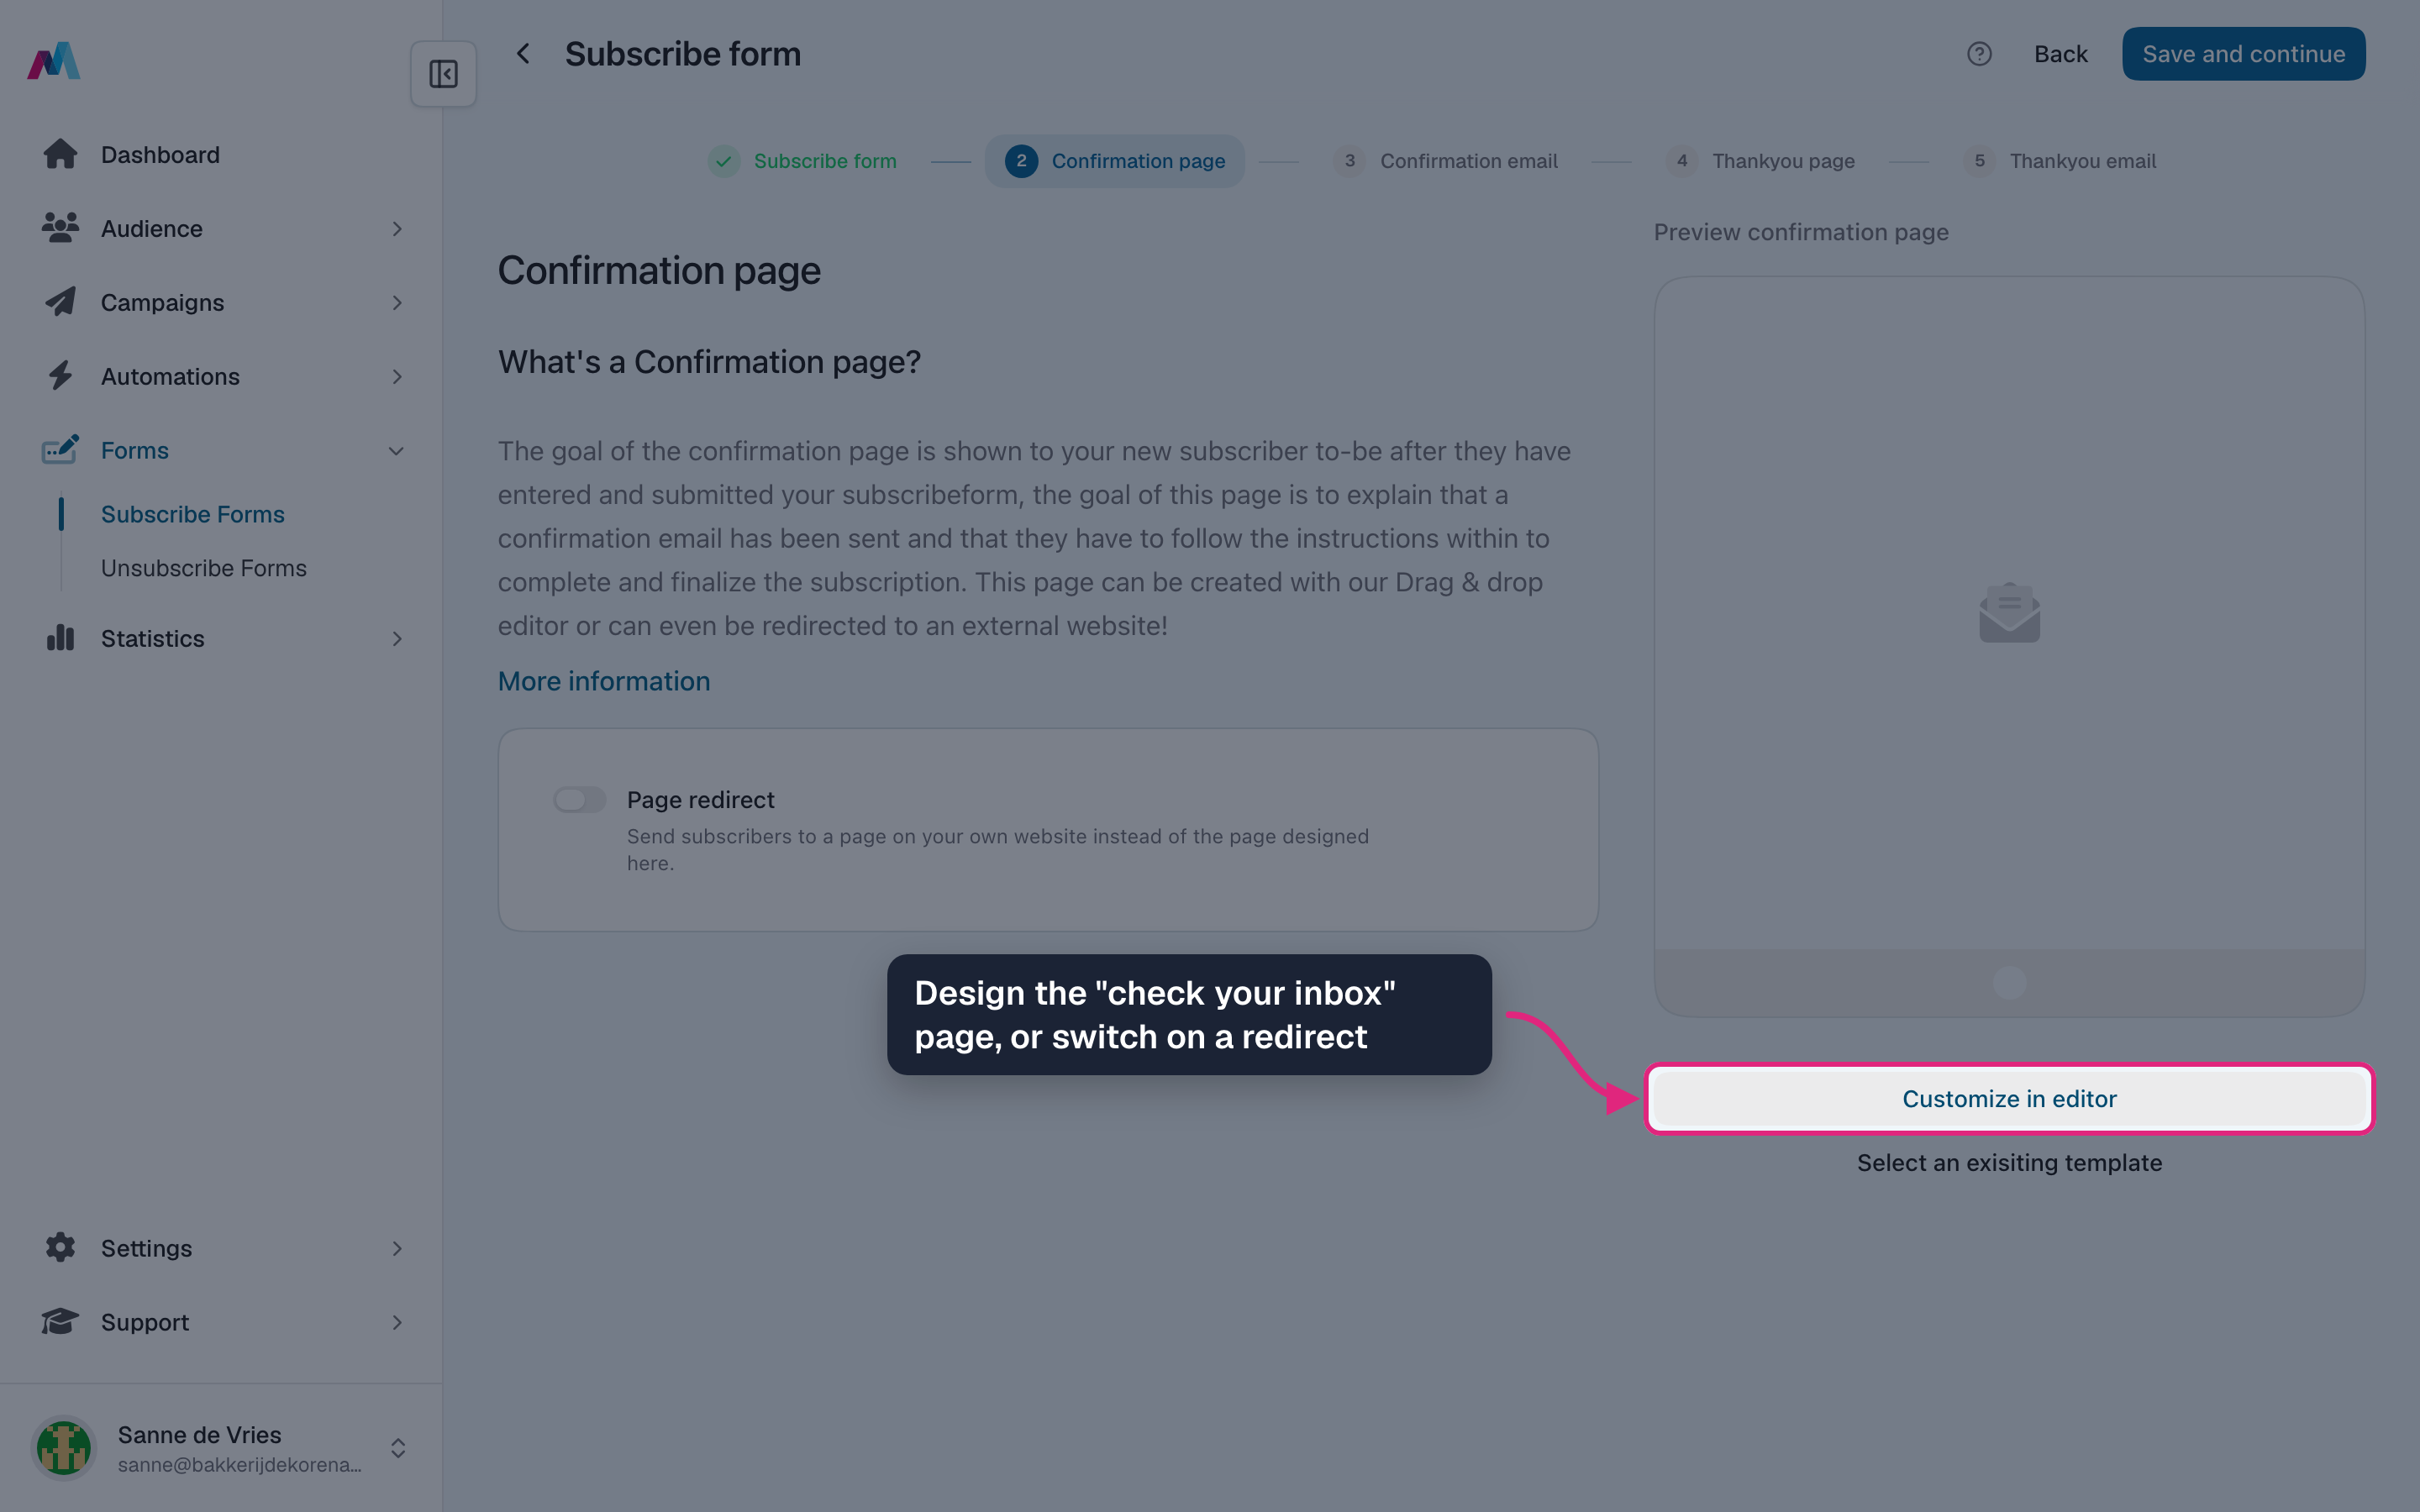
Step 2 is the confirmation page: people see it right after they sign up, and it tells them to check their inbox. Design it in the editor, or switch on "Page redirect" to send them to a page on your own website.
-
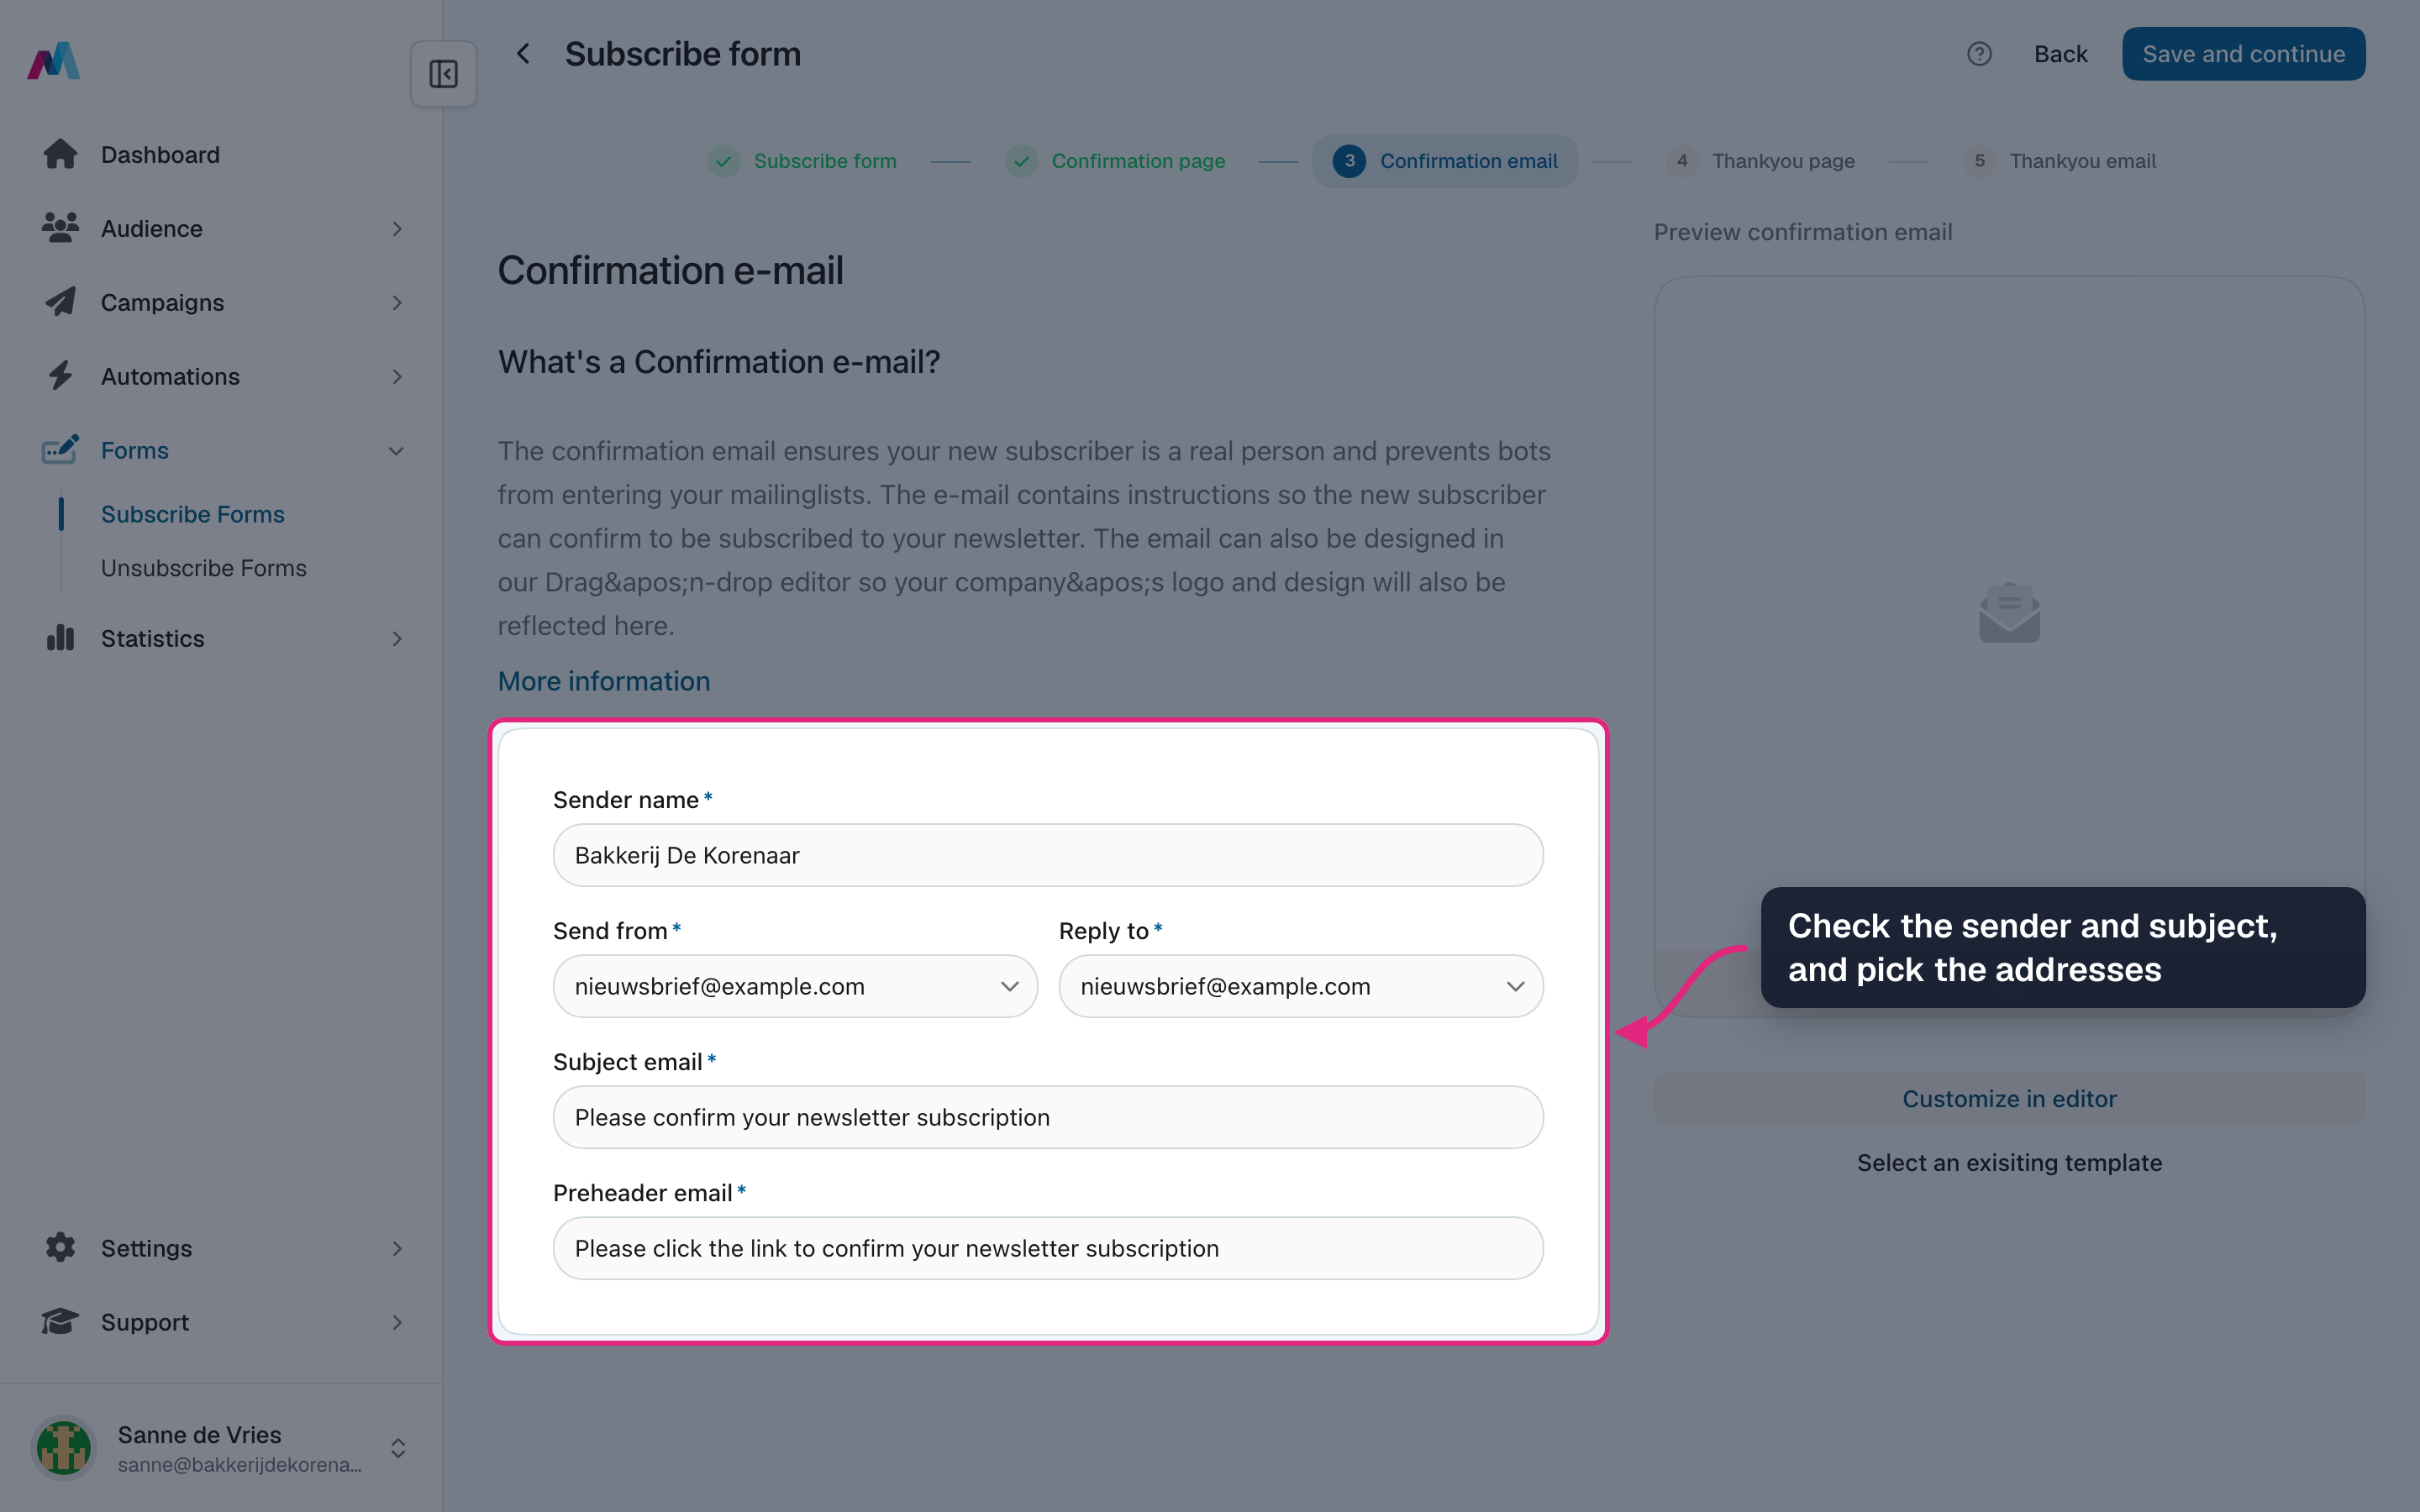
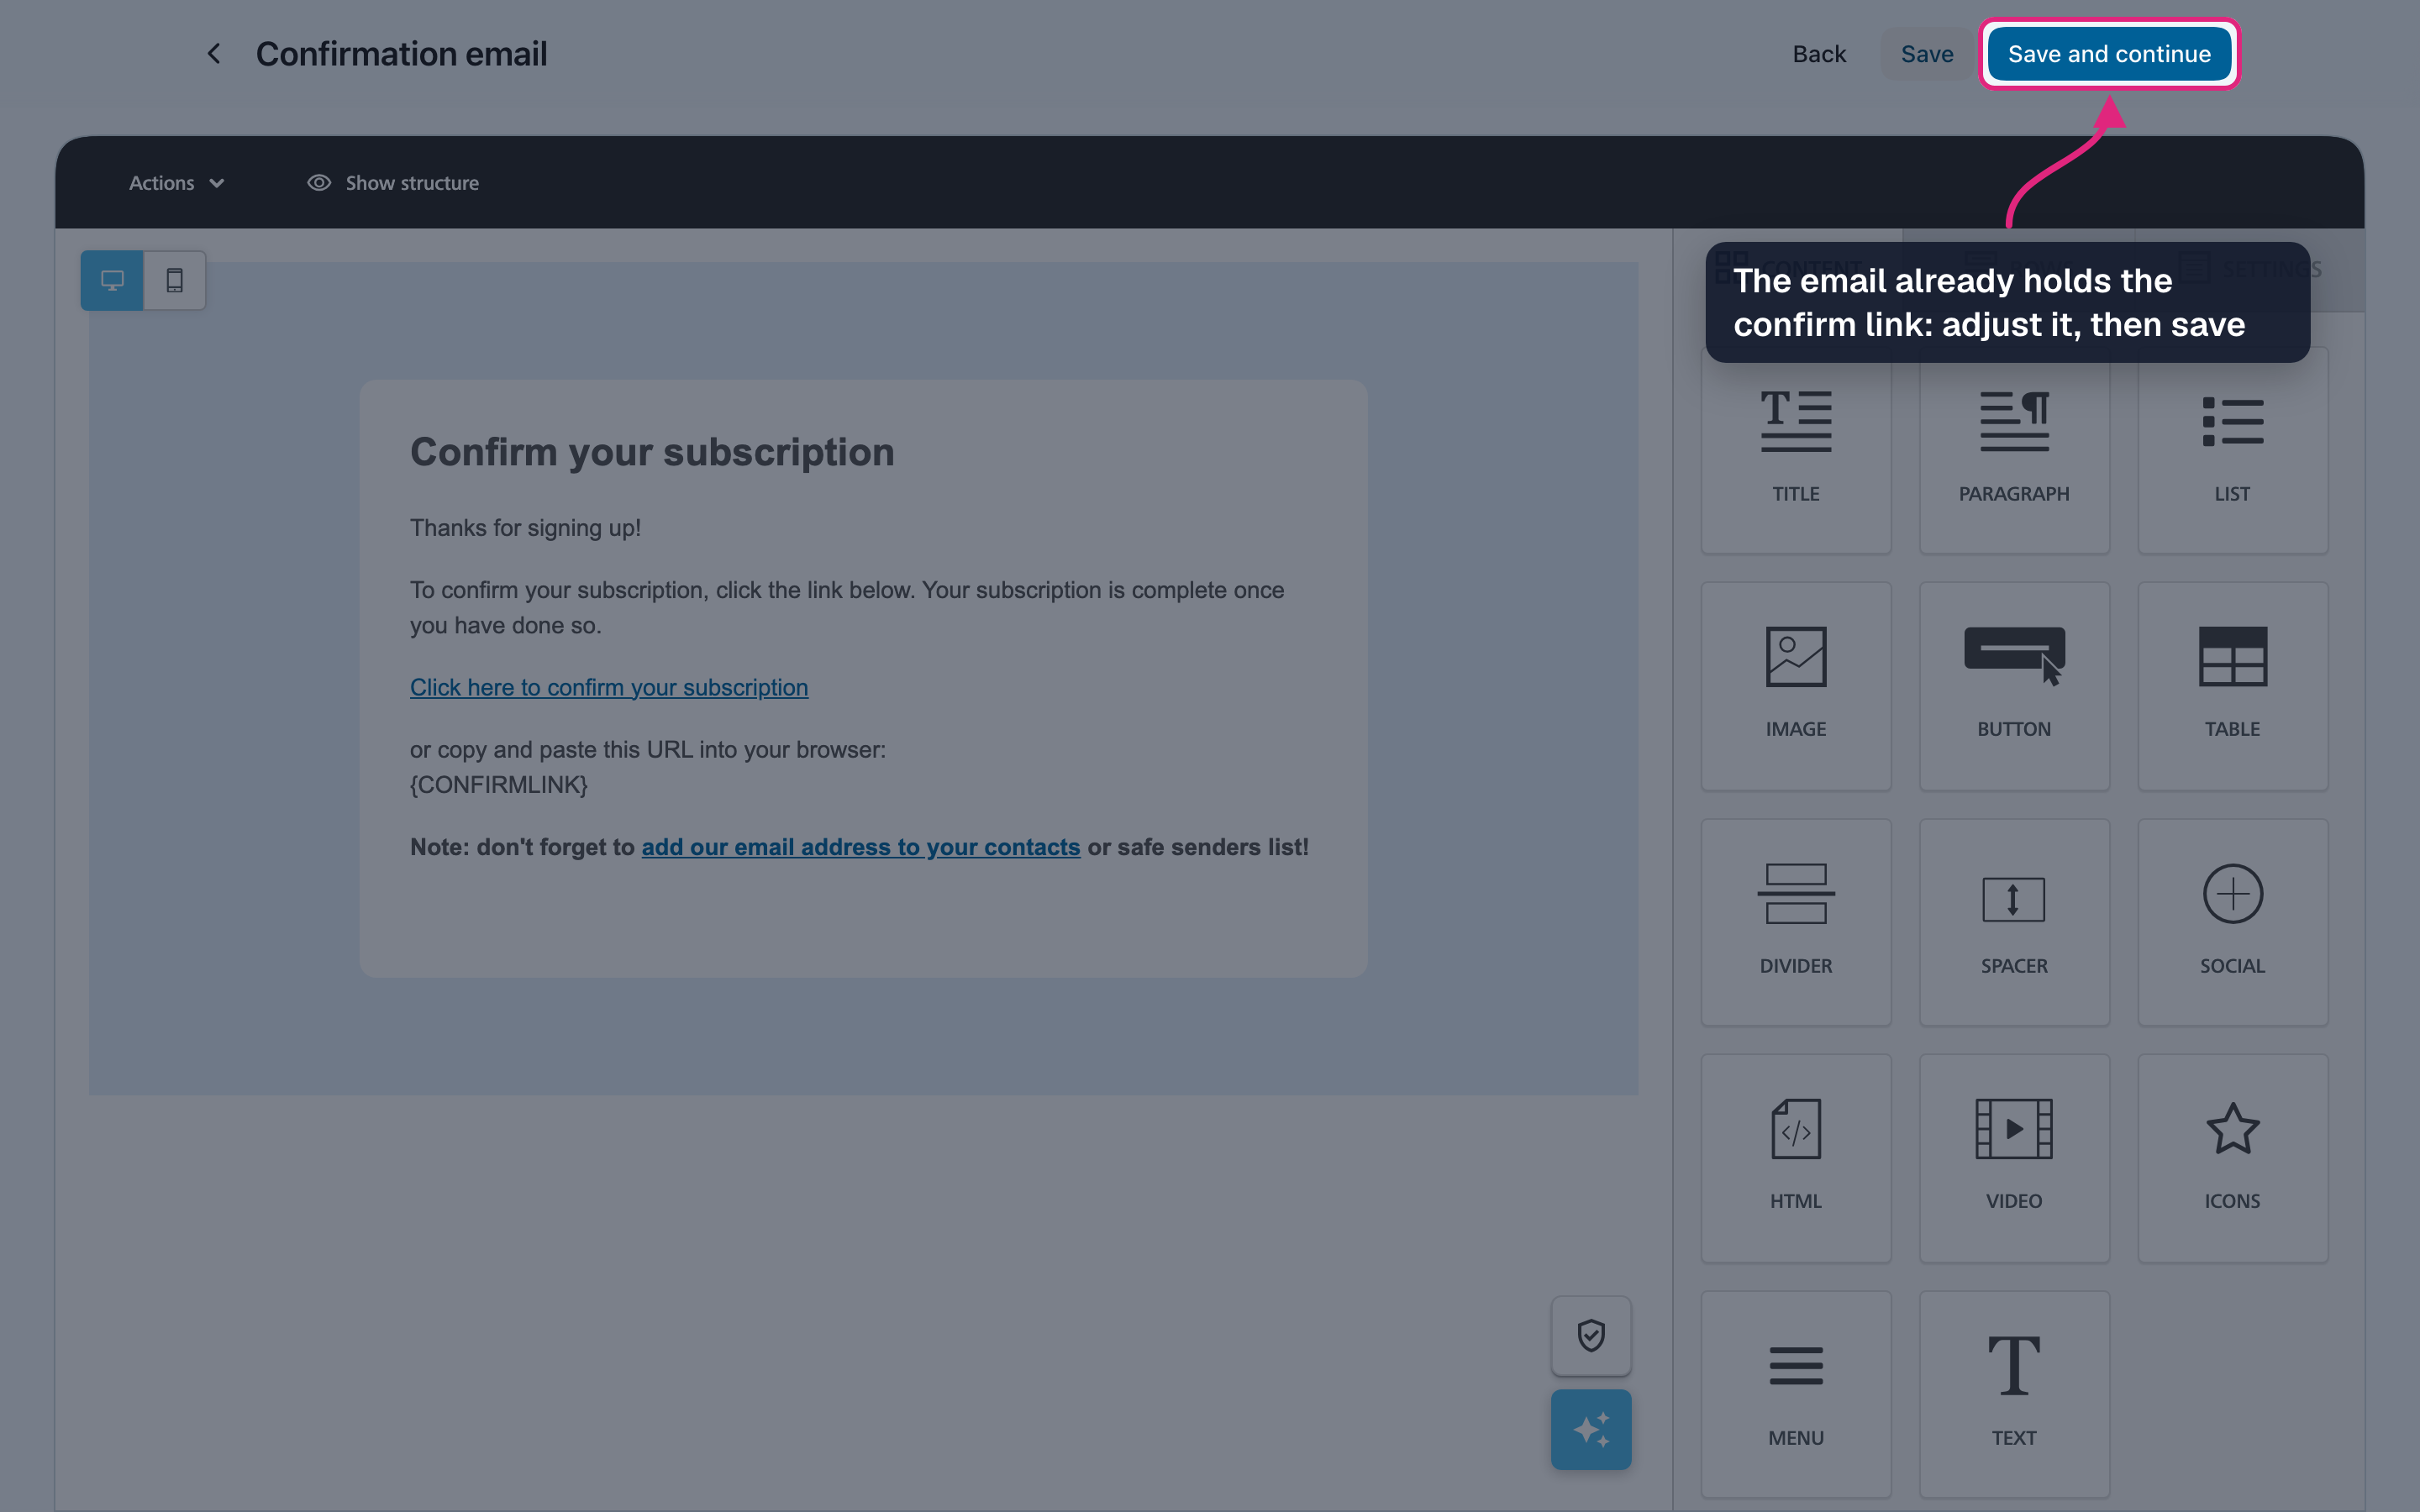
Step 3 is the confirmation email. Check the sender name, subject and preheader, and pick the address to send from and the reply address.
-
Click "Save and continue": the email opens in the editor. It already contains the confirmation link. Change the text or styling if you like, then click "Save and continue".
-
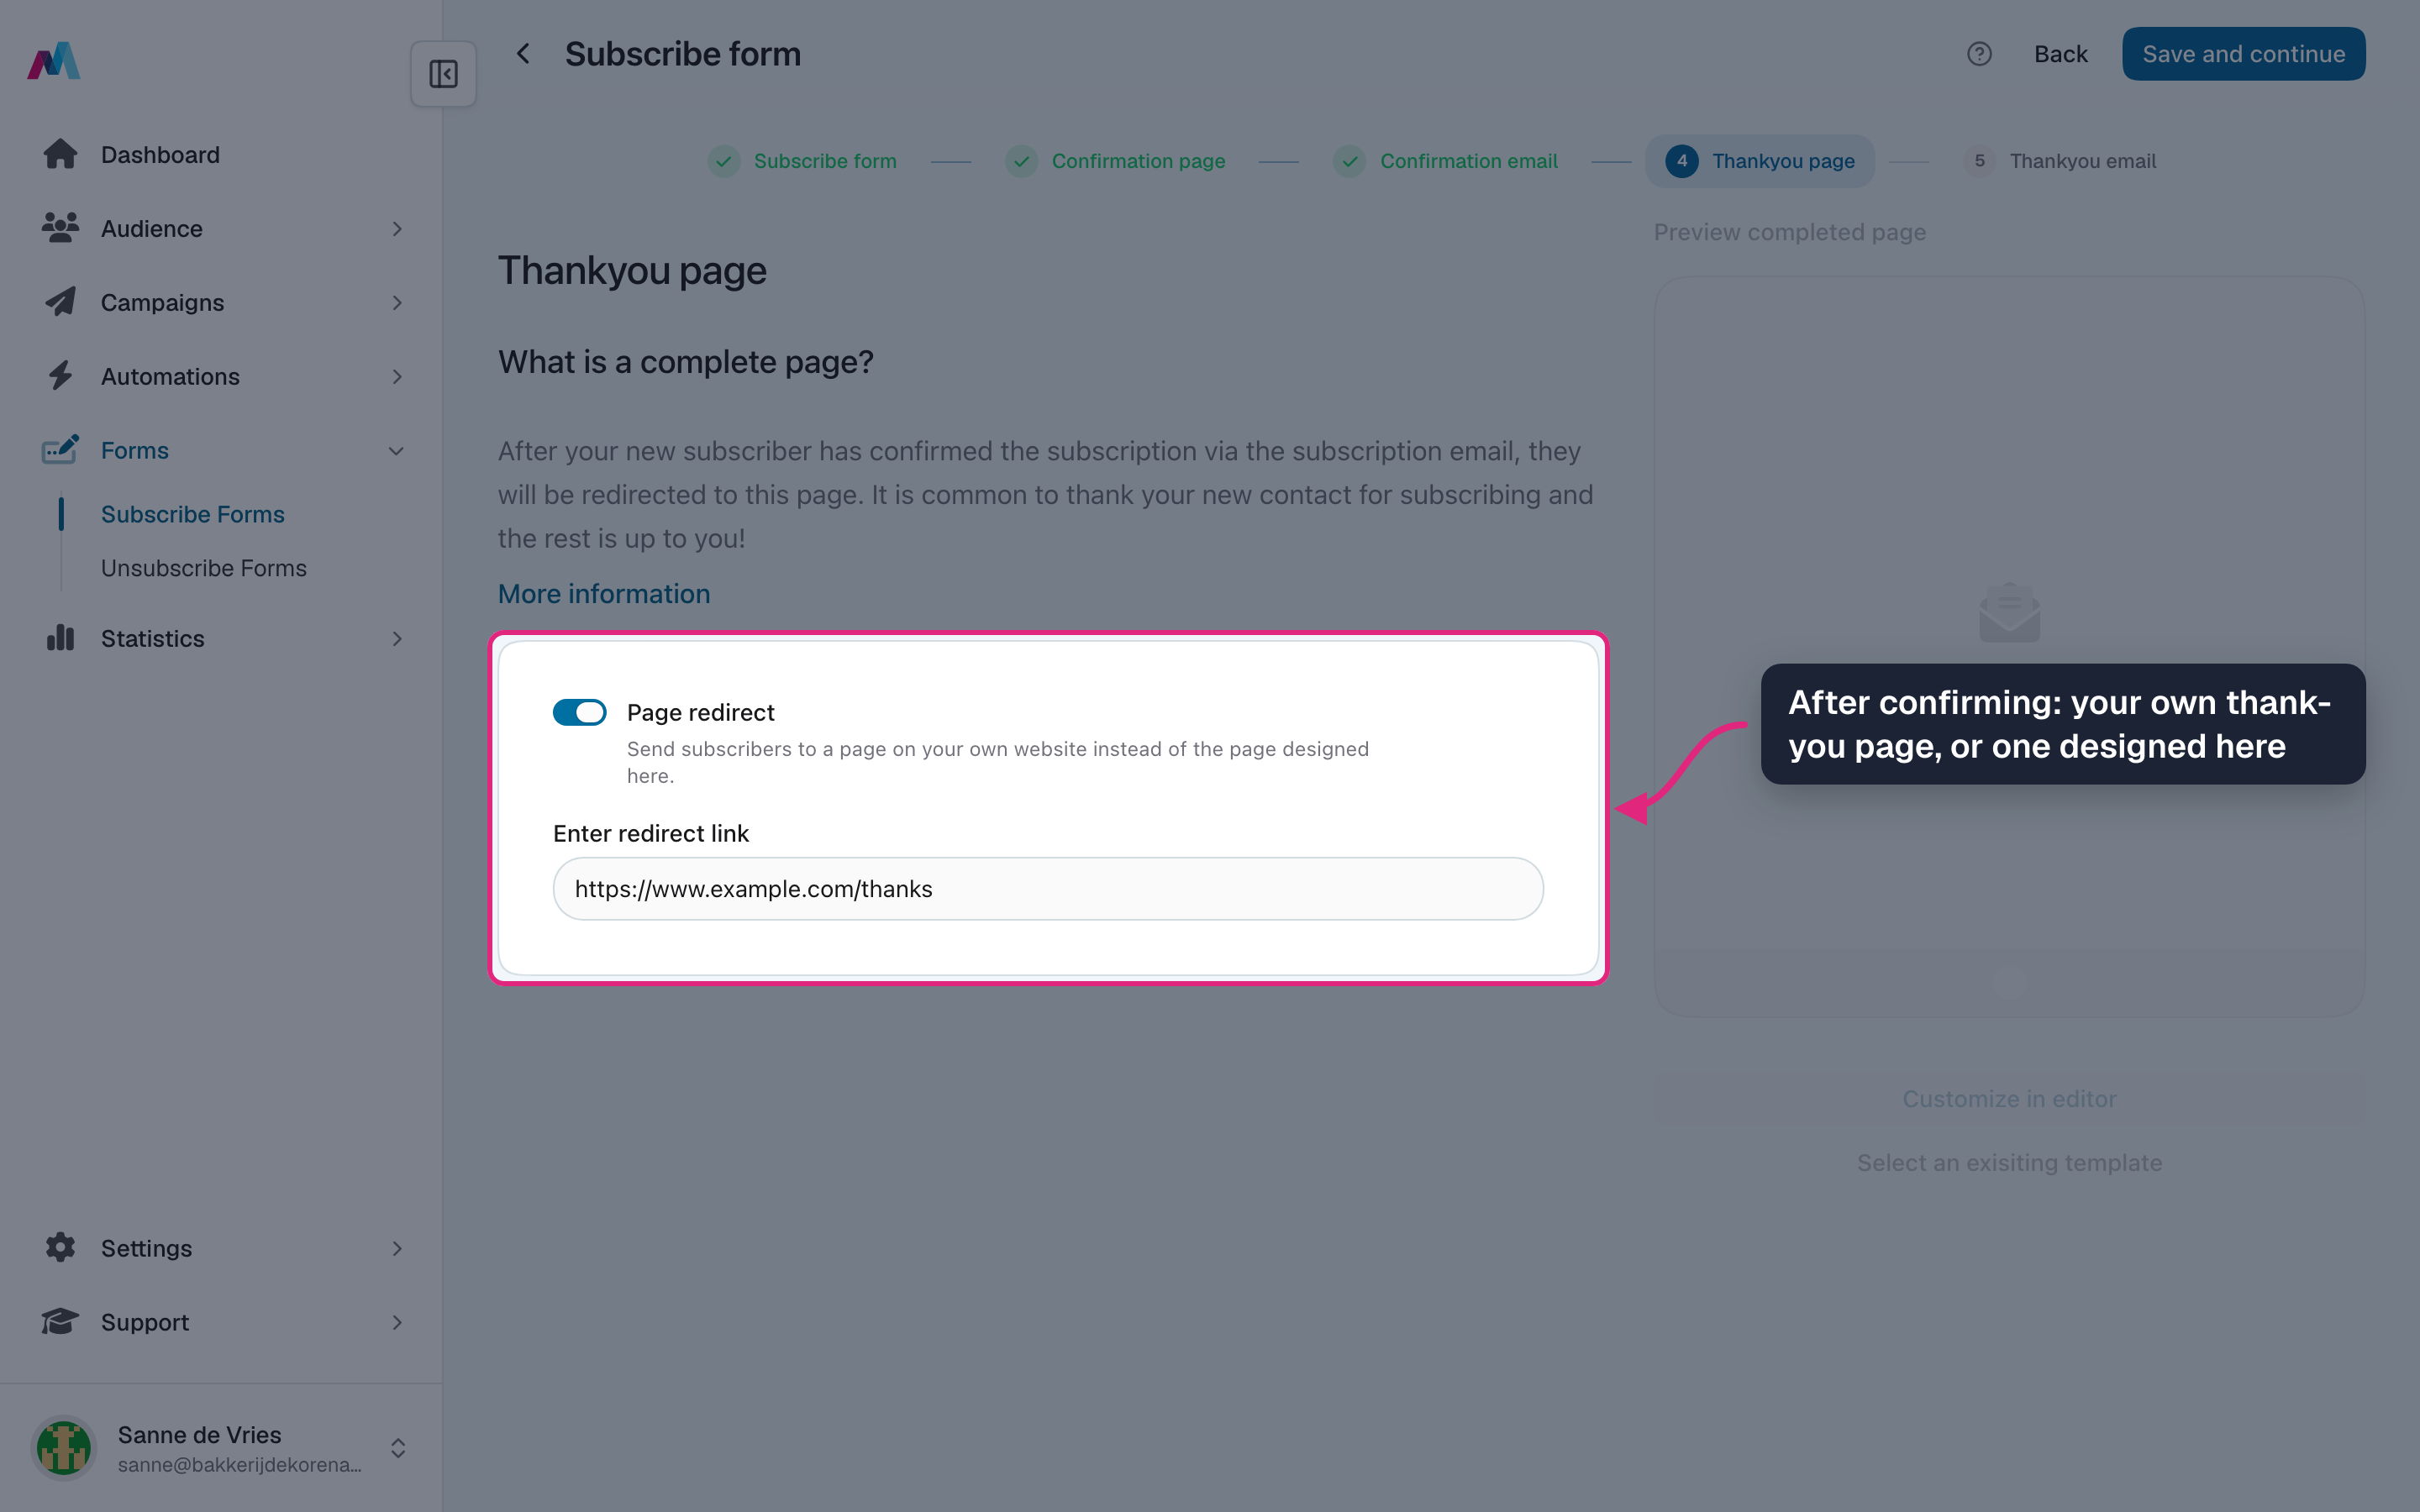
Step 4 is the thank-you page, shown after someone clicks the confirmation link. Design it in the editor, or switch on "Page redirect" and enter the address of your own thank-you page.
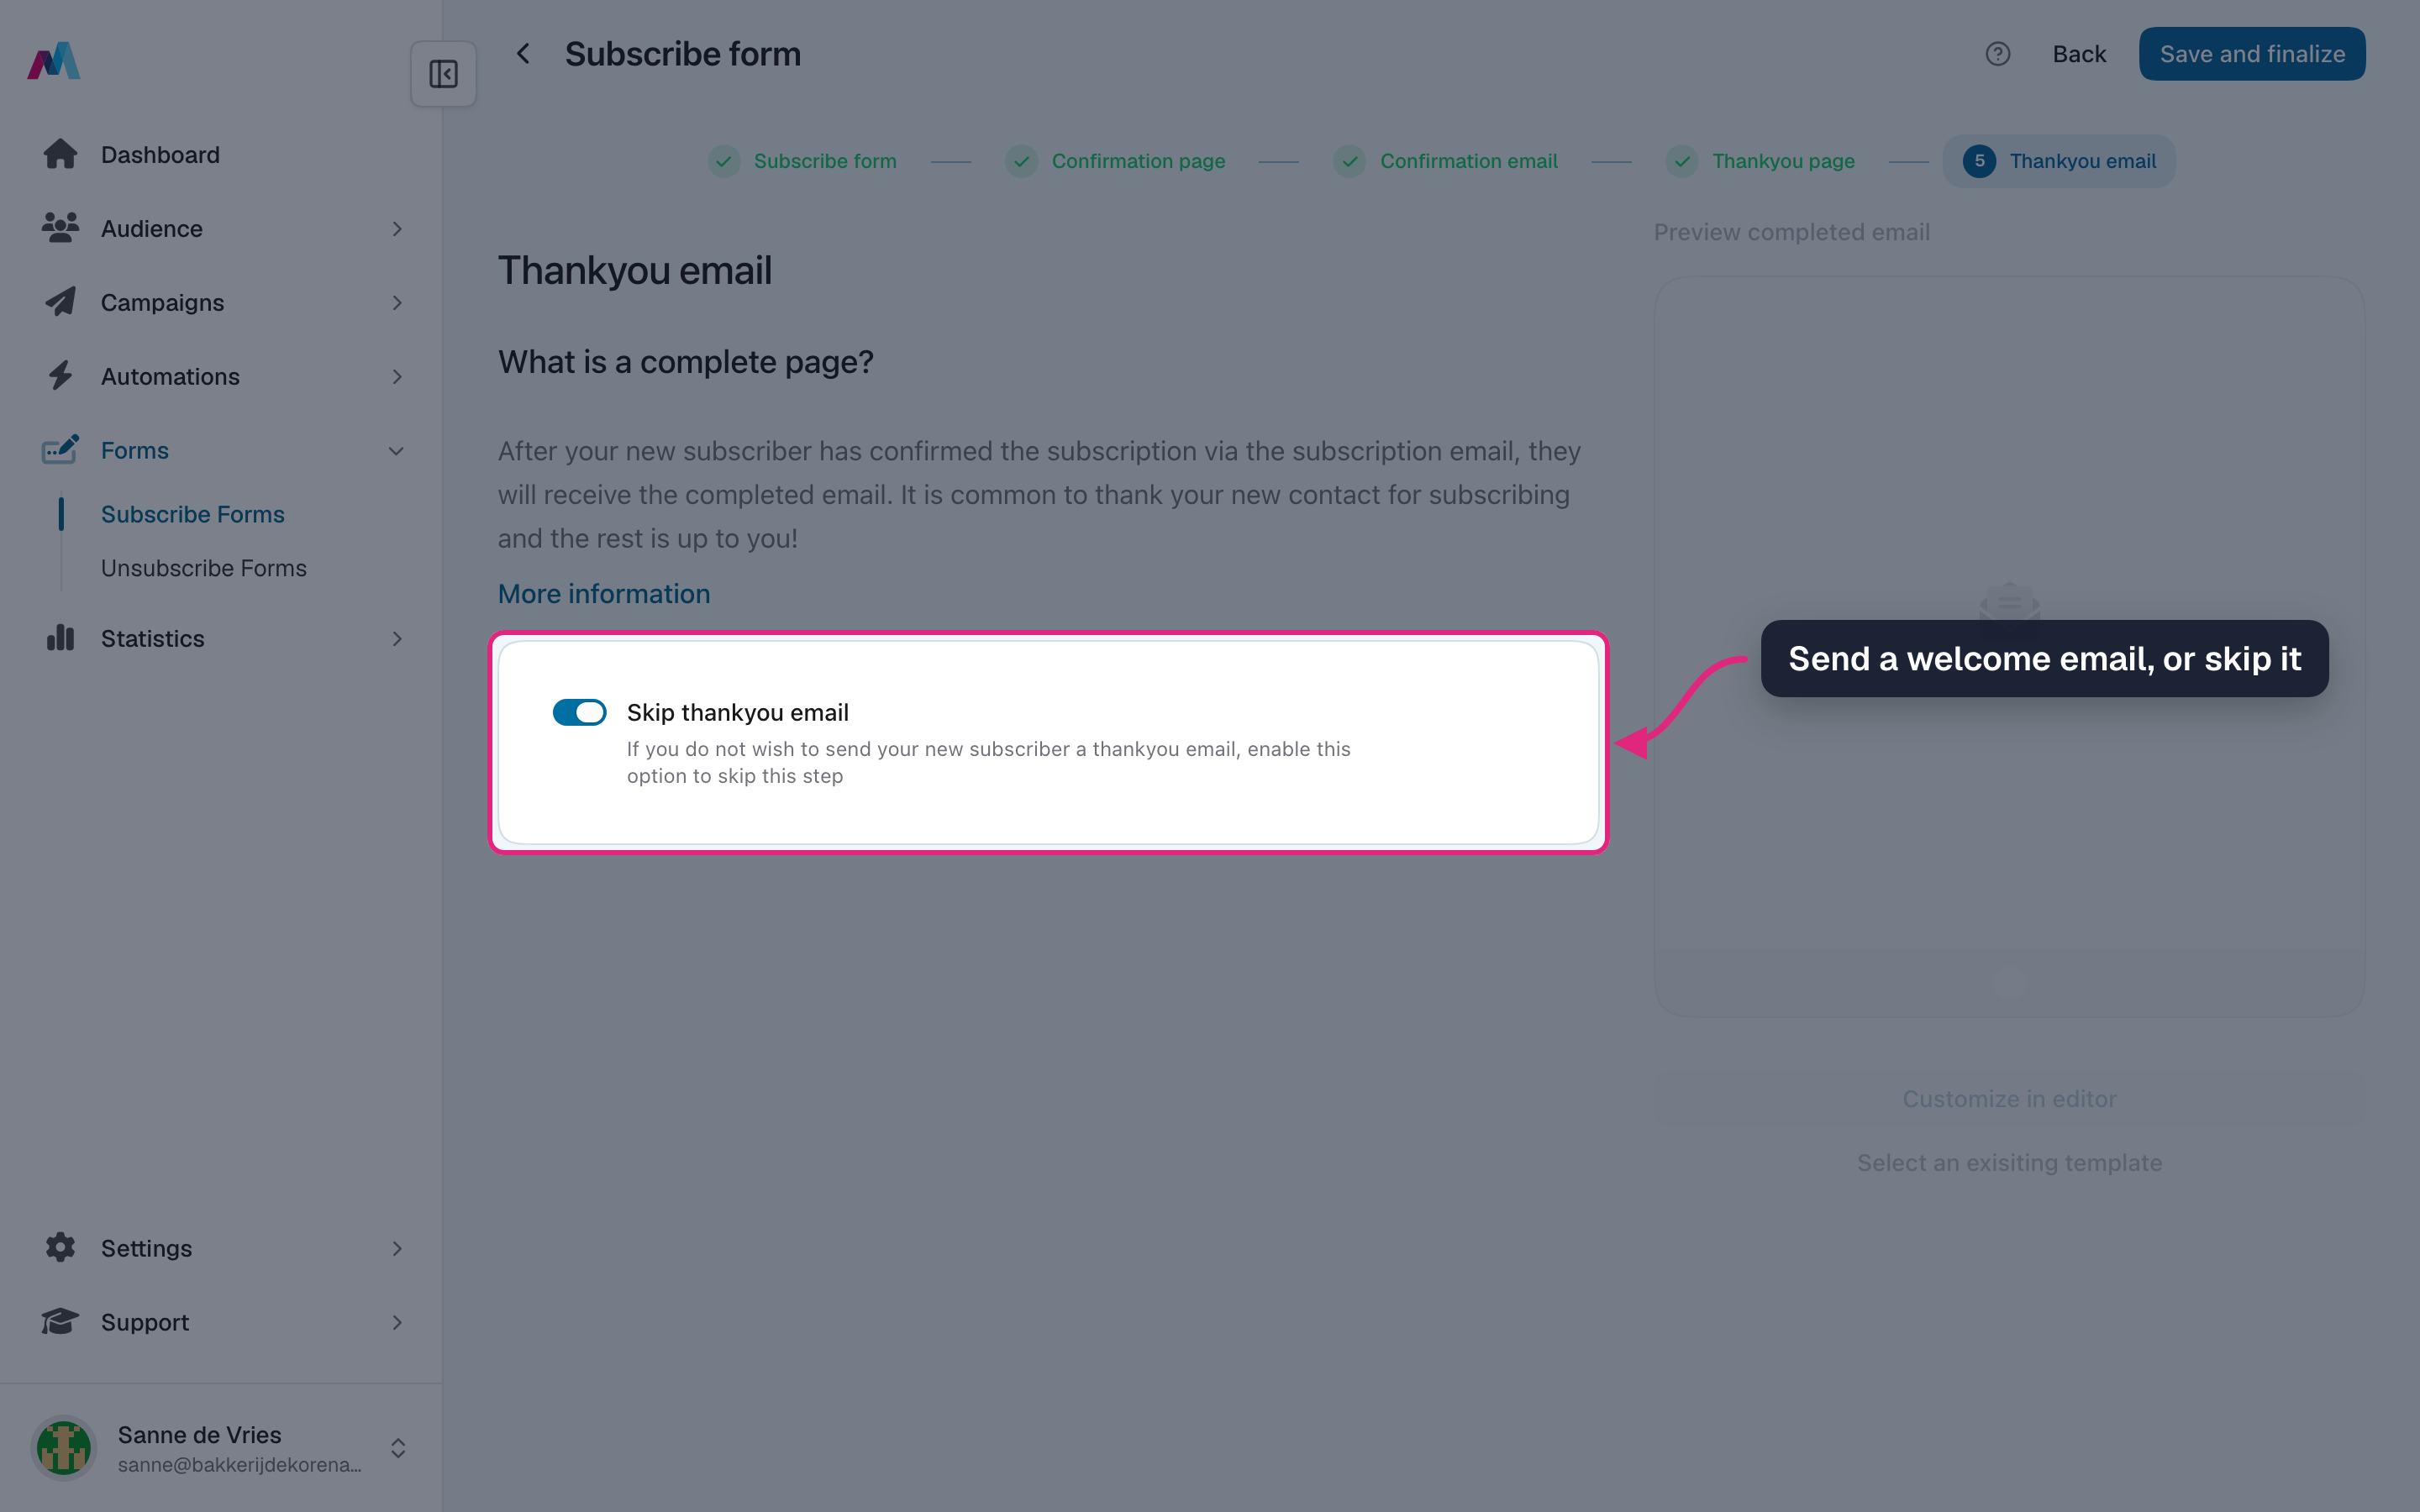
11. Step 5 is the thank-you email, a welcome message once the signup is confirmed. Set it up like the confirmation email, or switch on "Skip thankyou email" if you don't want to send one.
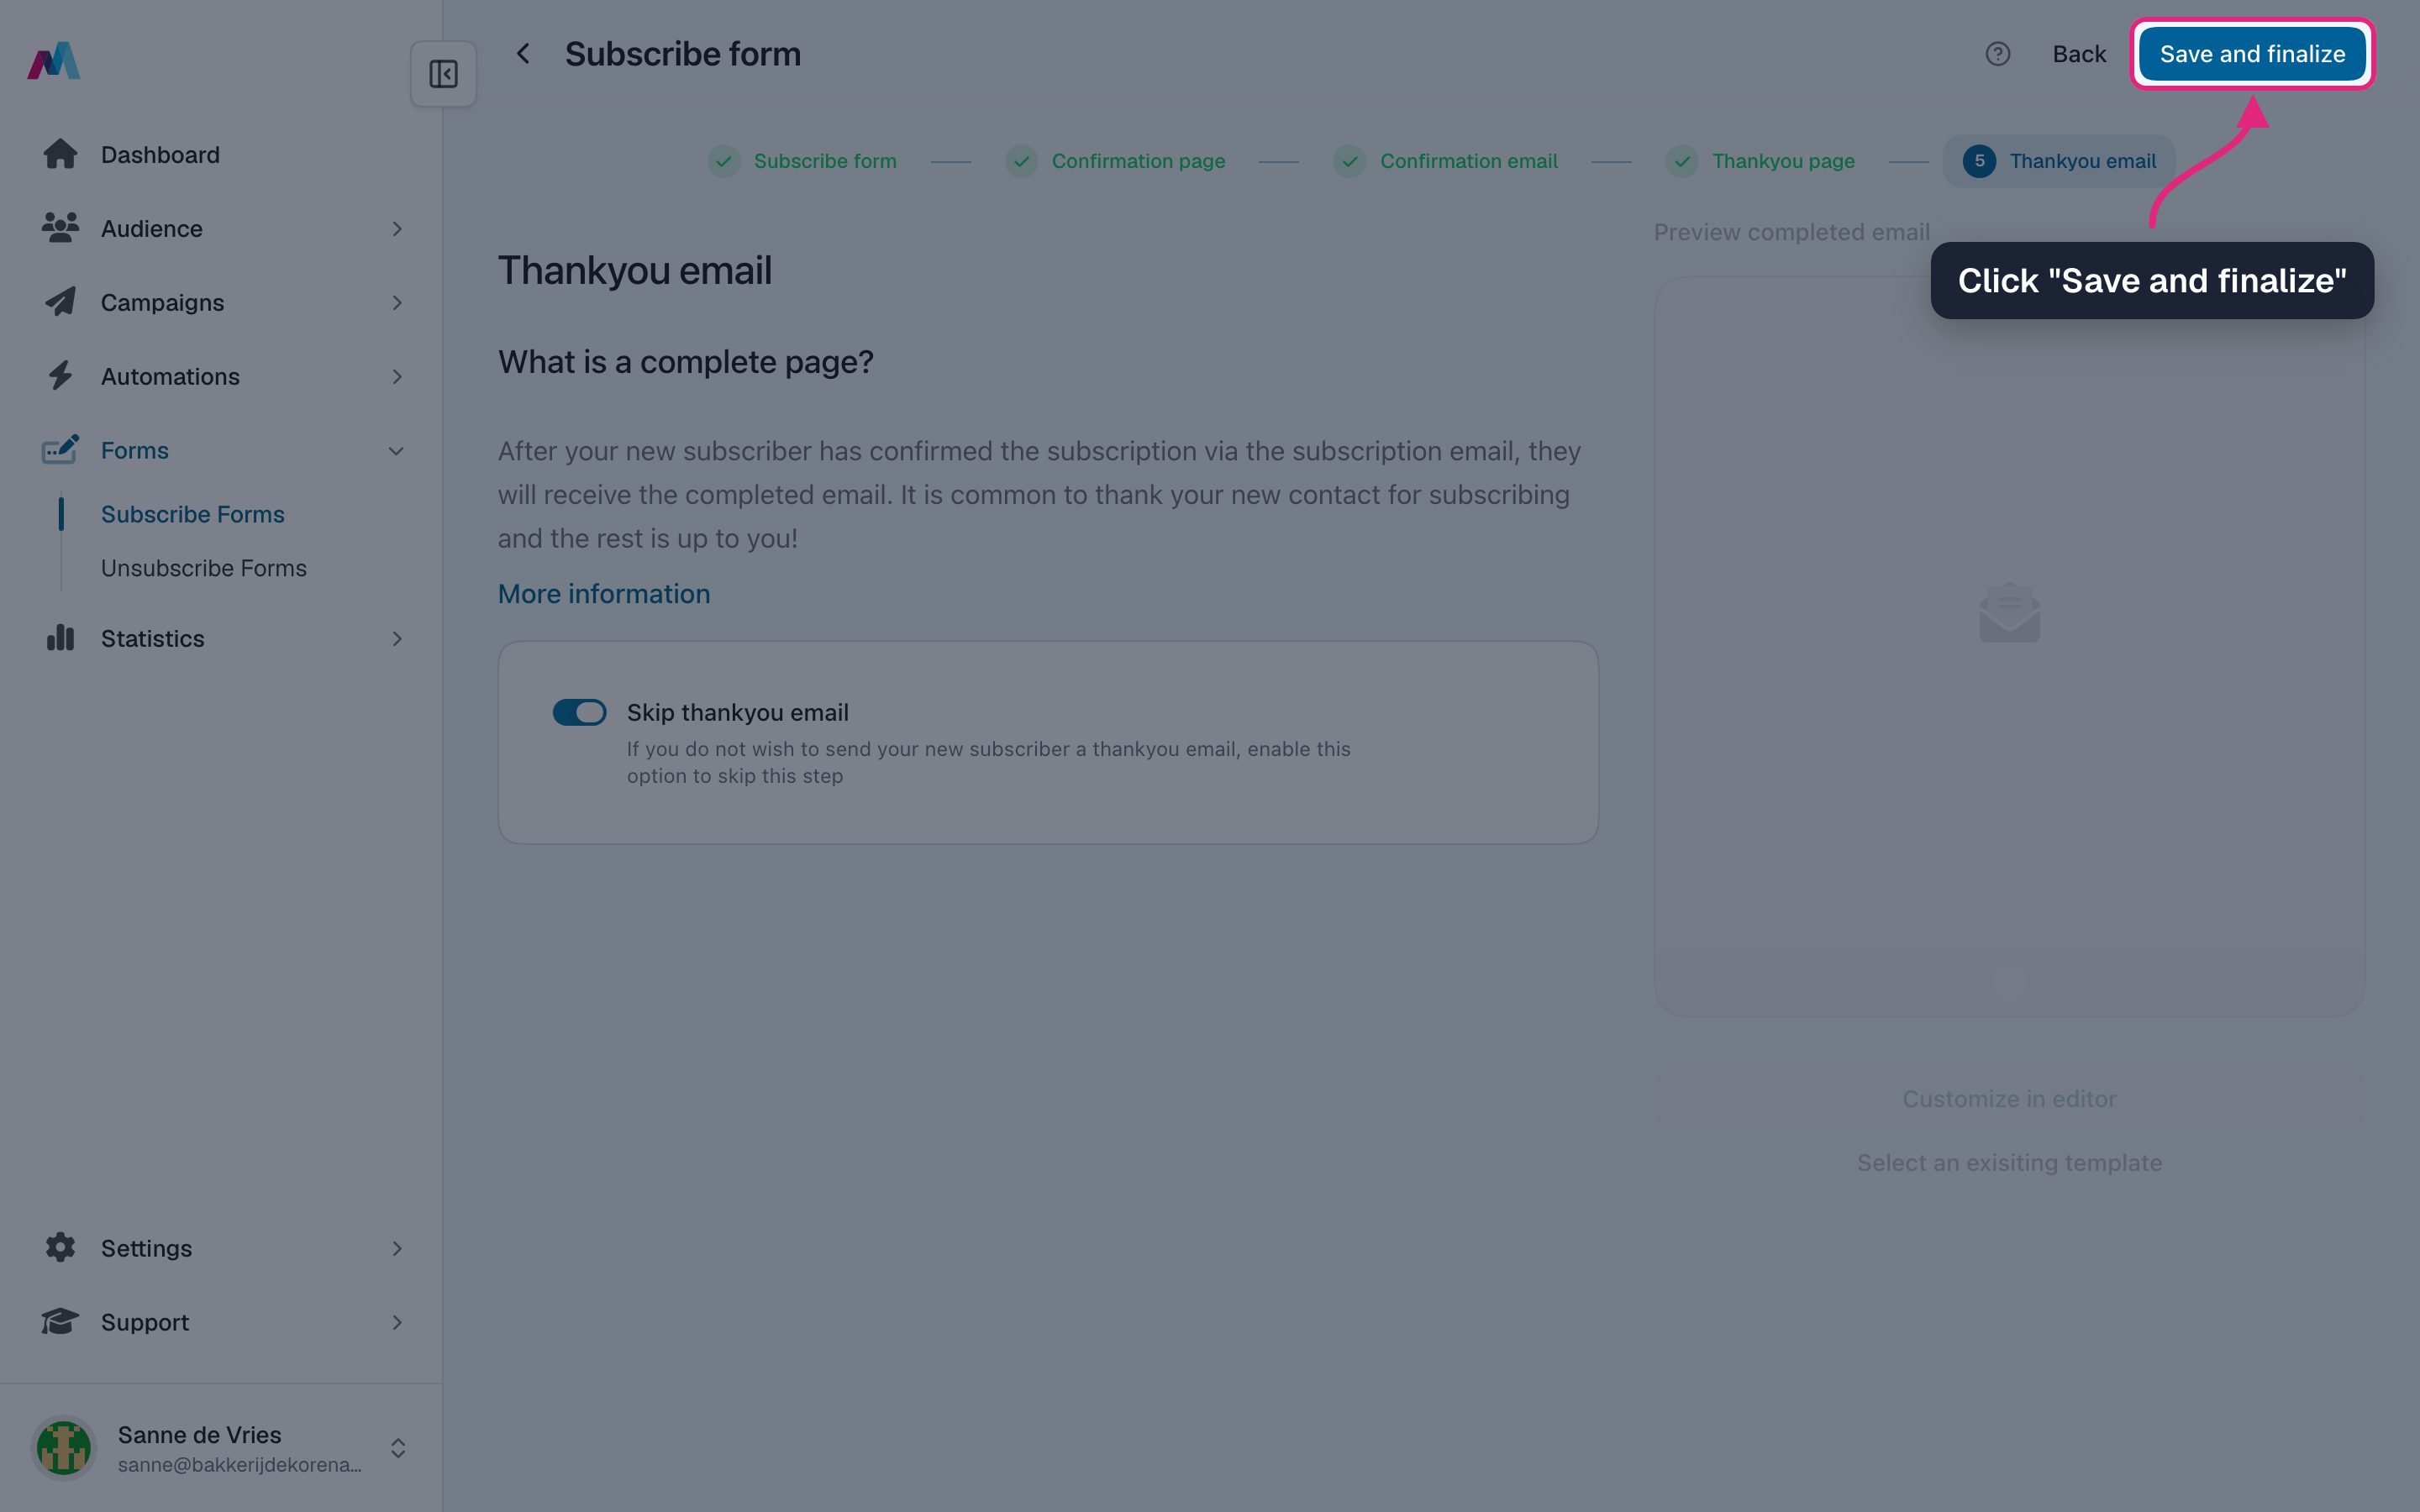
12. Click "Save and finalize".
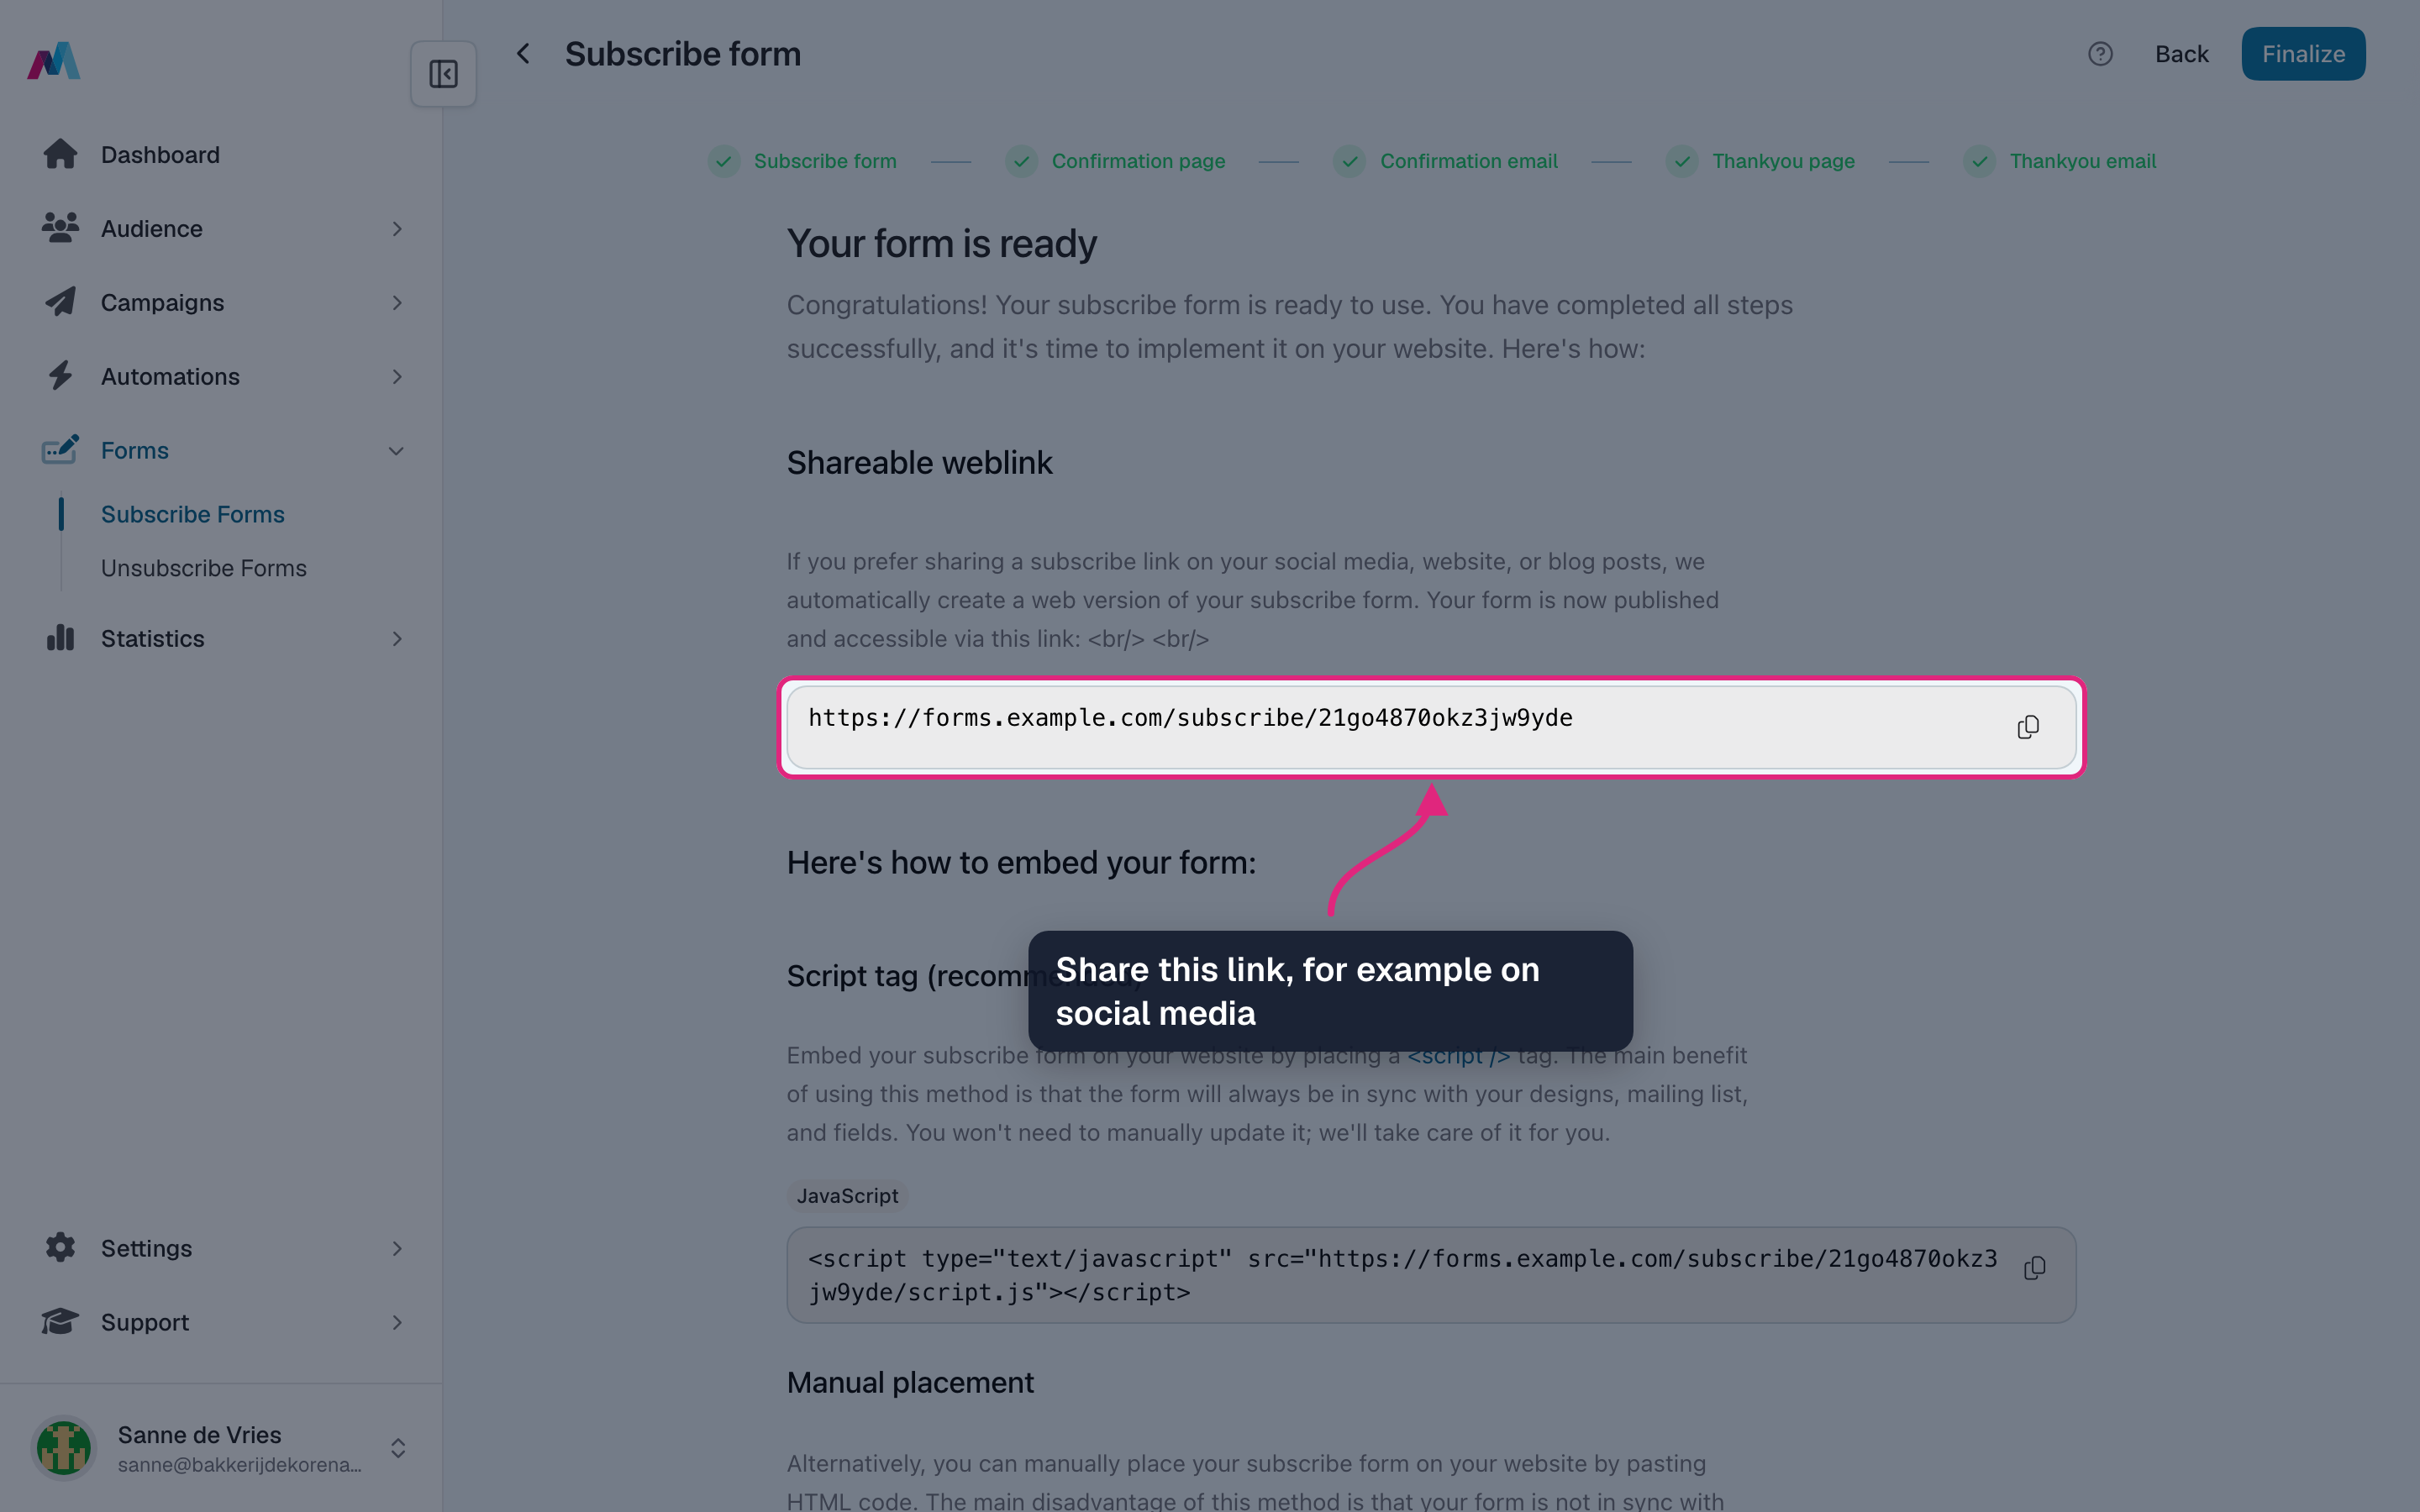
13. Your form is ready. Copy the shareable weblink to share it, for example on social media or in a post.
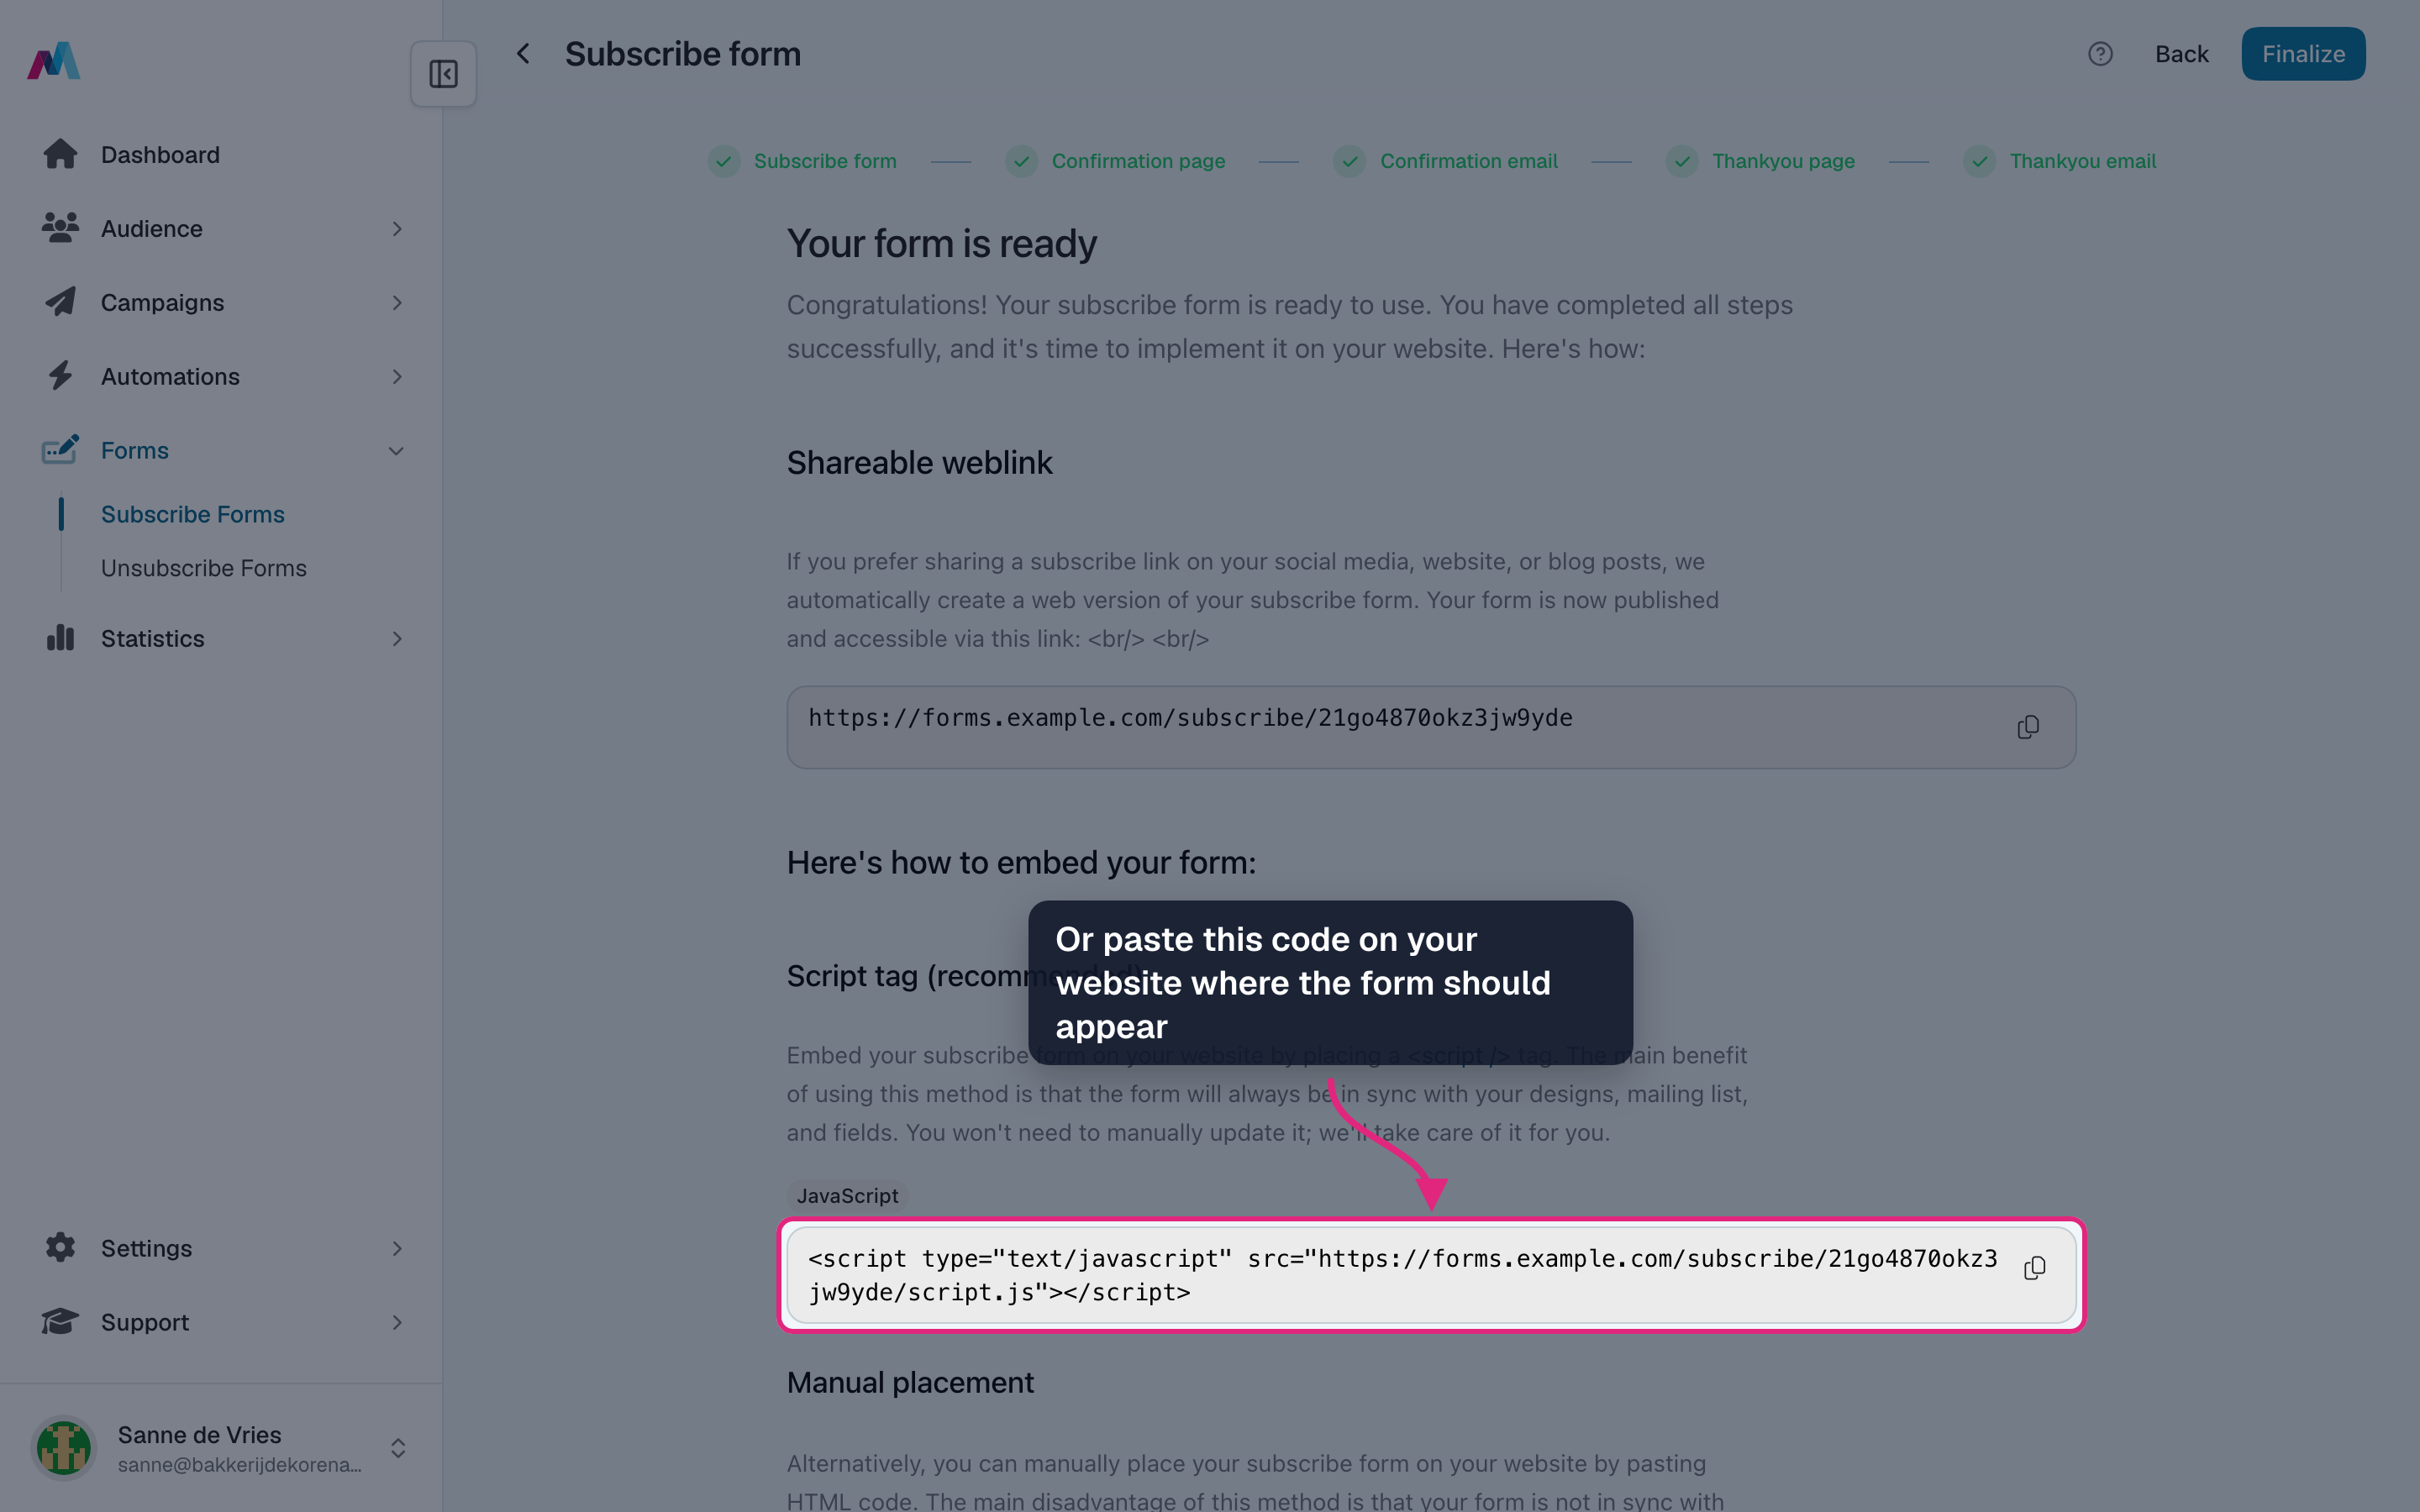
14. Or copy the script tag and paste it on your website where the form should appear. The form then always shows your latest design and fields.
What each step is for
1. Subscribe form
The form your visitors fill in. The email address is always on it; the other fields come from your list's fields and are up to you. New forms end with a line about your privacy policy, which you can edit or remove in the editor.
2. Confirmation page
Shown right after someone submits the form. It tells them a confirmation email is on its way. Design it here or redirect to a page on your own website.
3. Confirmation email
The double opt-in email with the link to confirm the signup. This step is required. Only verified sender addresses can be picked as the address to send from.
4. Thank-you page
Shown after someone clicks the confirmation link: the signup is now complete. Design it here or redirect to your own website.
5. Thank-you email
An optional welcome email, sent once the signup is confirmed. Switch on "Skip thankyou email" to not send one.
6. Your form is ready
Share the weblink, or place the form on your website with the script tag (recommended) or the HTML code. The script tag keeps the form in sync with your changes; pasted HTML does not.
Test it yourself firstOpen the form with "Show form" in the overview and sign up with your own address. You see the pages and emails exactly as a new subscriber does.
Ask only what you needEvery extra field means fewer signups. An email address and a first name are often enough to start.
Changes go live straight awayEdit a finished form with "Edit form" in the overview. The weblink and the script tag show the new version right away; only pasted HTML code has to be replaced by hand.
How do I put the form on my website?
After "Save and finalize", copy the script tag and paste it into your website where the form should appear. You find the code again later under "View sourcecode" in the form's actions. Can't add code to your site? Link to the shareable weblink instead.
What is double opt-in, and can I turn it off?
Double opt-in means a new subscriber first clicks a link in a confirmation email before they are added for real. It keeps typos, fake addresses and bots off your list and shows you have permission. Every subscribe form uses it, so the confirmation email step can't be skipped.
Where do new signups end up?
In Audience, on the mailing list of the form. Until they click the confirmation link they are "Unconfirmed" and don't receive campaigns; after that they are "Confirmed".
Can I ask for extra details or topics?
Yes. In the editor, click the form and add fields under "Manage fields". You can choose from your list's fields, so create a field first (for example a birthday) if it isn't there yet. If your list uses topics, you can add those too, so people pick what they want to hear about.
How do I change the thank-you page or use my own page?
Open the form with "Edit form" and go to the thank-you page step. Design it in the editor, or switch on "Page redirect" and enter the address of a page on your website. The confirmation page works the same way.
Someone didn't get the confirmation email. What now?
Ask them to check their spam or promotions folder and whether they typed their address correctly; they can simply sign up again. Also check that the confirmation email is sent from a verified sender address you own. Test with your own address to see if the email arrives.
Can I use one form for several lists?
No. A form adds signups to one mailing list. Make a separate form for each list.
See also
Updated 4 days ago